Introduction
.NET CoreをDocker経由で動かしたりしました。
ですが、WindowsまたはLinuxの端末上でエディットしてコンパイルするのは面倒だしつまらない。
なので、LinuxのGUI上で開発すればいいじゃん、ということで
- Visual Studio Code
- JetBrains Rider
の2つに白羽の矢が立ちました。Eclipse?知らないなぁ….
自分はJetBrains Toolboxをサブスクライブしているので、今後EAPがとれて正式リリースされても継続利用できます。
なにより、Resharper、Clionを使ってきて満足しているので、Riderもきっと素晴らしい、と信じています。
Preparation
まずは、ダウンロード。
2017/05/14の時点でEAP Build21が最新です。

ダウンロードしたら、端末を開きます。
おそらく、ダウンロードフォルダにダウンロードしたファイルがあるので、ダウンロードフォルダに移動します。
1 | cd ~/ダウンロード |
インストール先は、Riderのマニュアルがあればそれに従うのですが存在しないので、IntellJ IDEAのマニュアルに従い、**/opt**にインストールします。
Starting IntelliJ IDEA on Linux
1 | sudo mv riderRS-171.4089.466.tar.gz /opt |
/opt/Rider-171.4089.466に展開されました。
中を見てみますと、Install-Linux-tar.txtがあるので、確認します。
```
Rider
INSTALLATION INSTRUCTIONS
===============================================================================
Linux Installation Instructions
- Unpack the Rider distribution archive that you downloaded to
where you wish to install the program. We will refer to this destination
location as your {installation home} below. - Open a console and cd into “{installation home}/bin” and type:
./rider.sh
to start the application. As a side effect, this will initialize various
configuration files in the ~/.Rider10 directory. - [OPTIONAL] Add “{installation home}/bin” to your PATH environment
variable so that you may start Rider from any directory. - [OPTIONAL] To adjust the value of the JVM heap size, create
~/.Rider10/rider.vmoptions (or rider64.vmoptions
if using a 64-bit JDK), and set the -Xms and -Xmx parameters. To see how
to do this, you can reference the vmoptions file under
“{installation home}/bin” as a model.
[OPTIONAL] Changing the location of “config” and “system” directories
By default, Rider stores all your settings under the ~/.Rider10/config
directory and uses ~/.Rider10/system as a data cache.
If you want to change these settings,
- Open a console and cd into ~/.Rider10/
- Create the file “idea.properties” and open it in an editor. Set the
idea.system.path and/or idea.config.path variables as desired, for
example:
idea.system.path=/custom/system/custom/config
idea.config.path= - Note that we recommend to store data cache (“system” directory) on a disk
with at least 1GB of free space.
Enjoy!
-Rider Development Team
1 |
|
どうも、SSH経由ではダメな模様。
GUIに移動し端末を起動し再度トライ。
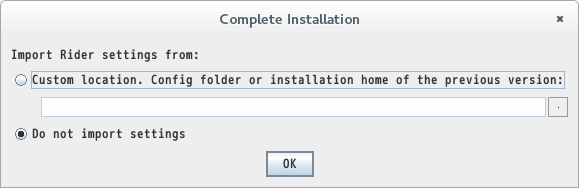
ダイアログが立ち上がり、設定を引き継ぐかどうかを尋ねられます。
初めてインストールしたので、Do not import setting を選択し、OKを押下します。
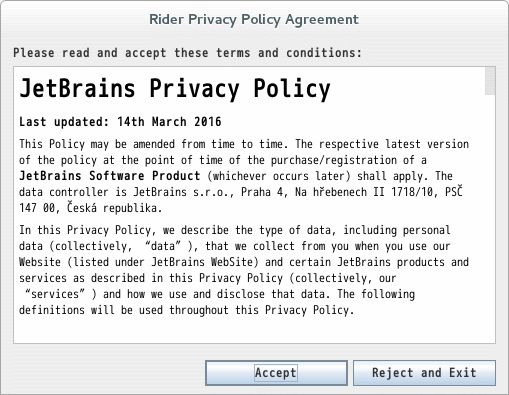
次にJetBRains Privacy Policyへの同意を求められますので、Accept を押下します。
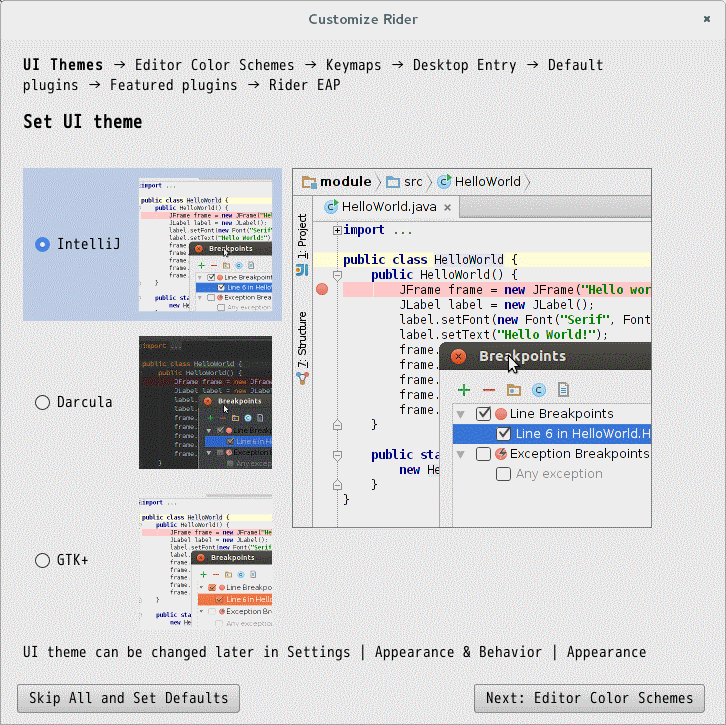
Themaを選択します。これはお好みを選択し、Next: Editor Color Schemes を押下します。
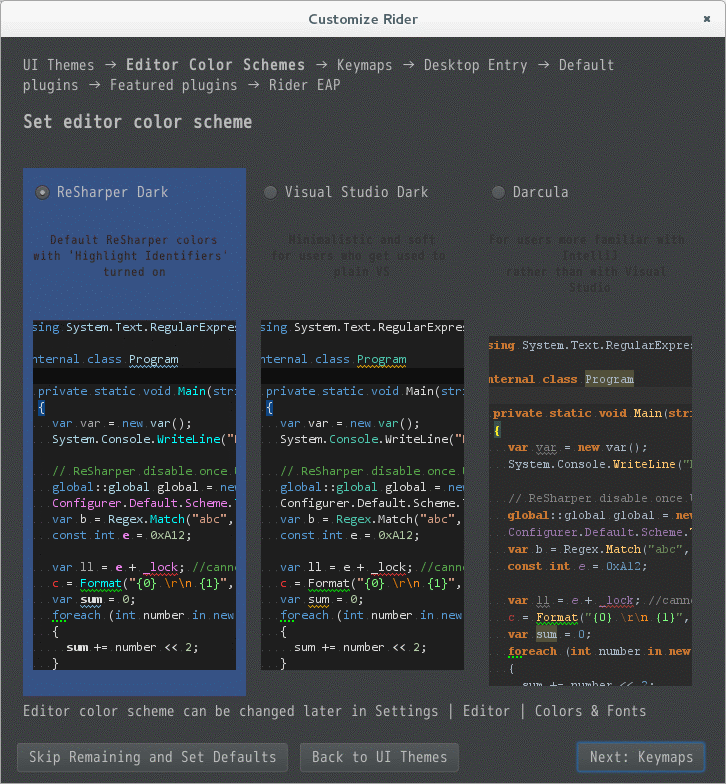
エディターの色定義を選択します。これもお好みを選択し、Next: Keymaps を押下します。
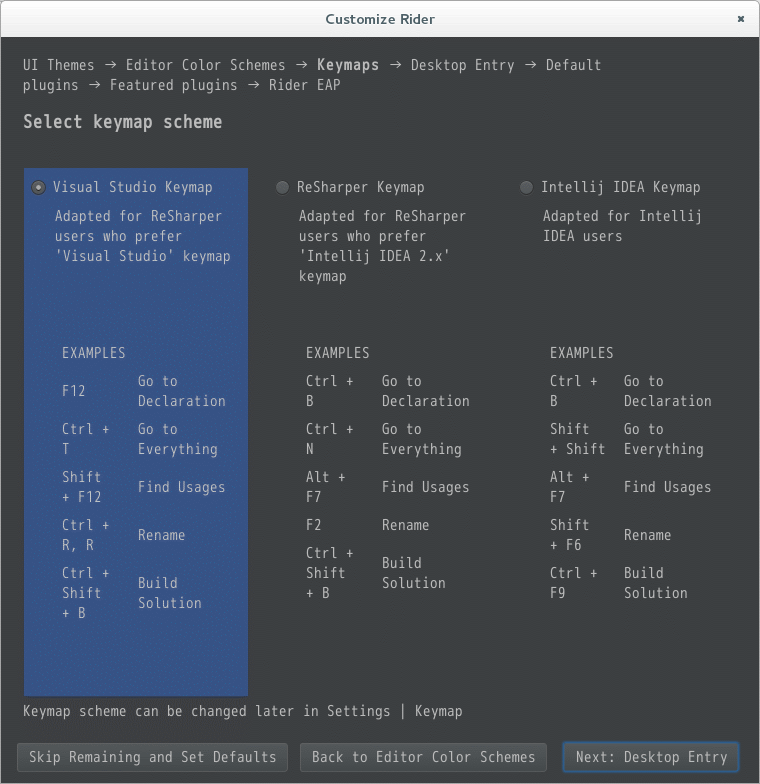
キーの割り当てを選択します。これもお好みを選択し、Next: Desktop Entry を押下します。
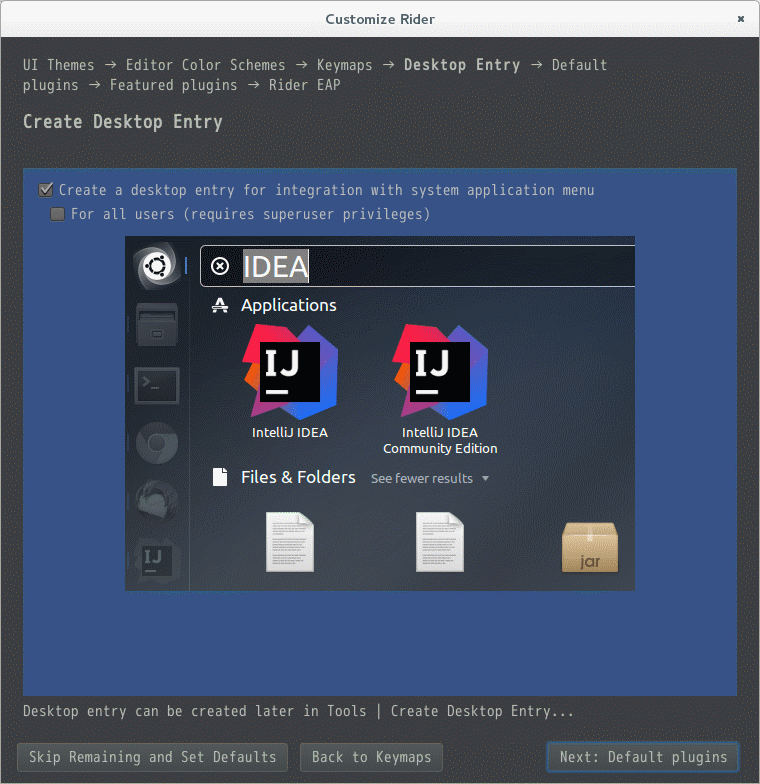
ショートカットをデスクトップに作成するかどうかです。なぜかIntelliJ IDEAのアイコンです。これもお好みを選択し、Next: Default plugins を押下します。
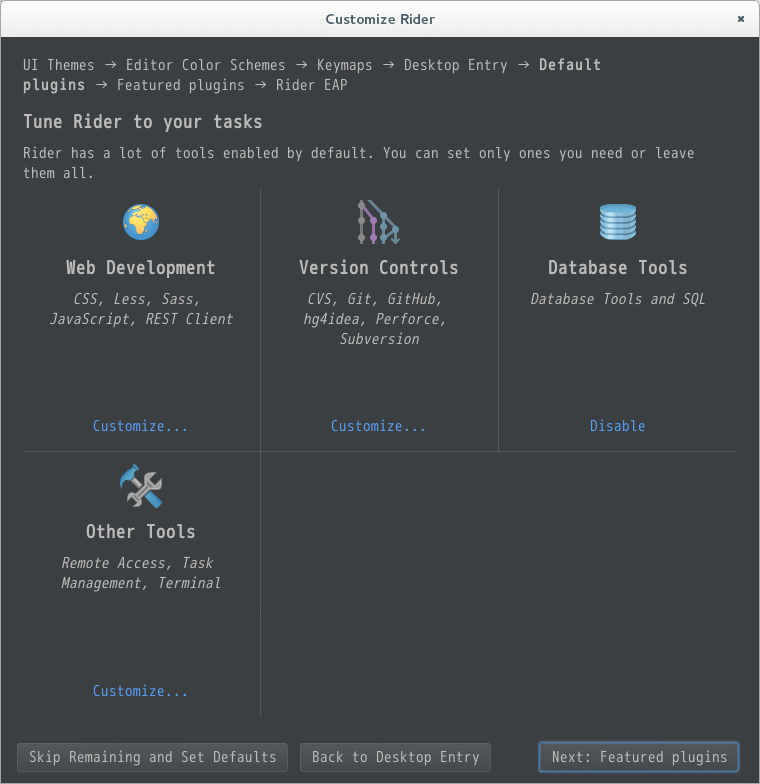
プラグインを選択します。ここでは、Web Development、Version Controls、Database Tools、Other Toolsを選択できます。
全部欲しければそのままで良いです。Next: Featured pluginsを押下します。
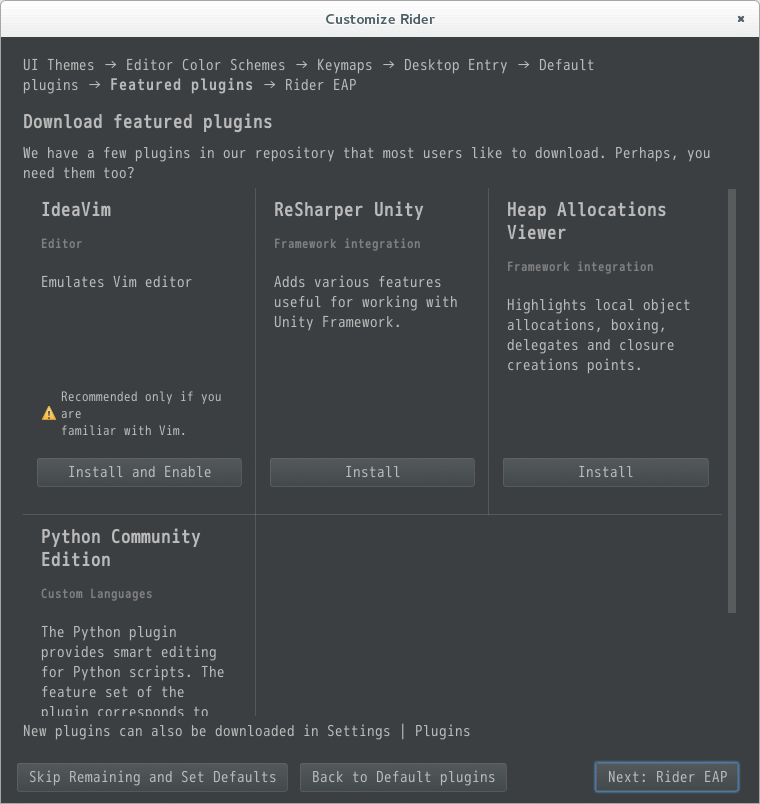
Featutedプラグインを選択します。ここでは、IdeaVim、Resharper Unity、Help AllocationsViewer、Python Community Editionを選択できます。
必要に応じて選択します。自分はResharper Unityだけ追加しました。終わったら、Next: Rider EAPを押下します。
スタートアップガイドやバグトラッカーの案内です。
これで完了です。
Start using Riderを押下して終了します。

スプラッシュスクリーンです。

メイン画面です。ここはClion等と同一ですね・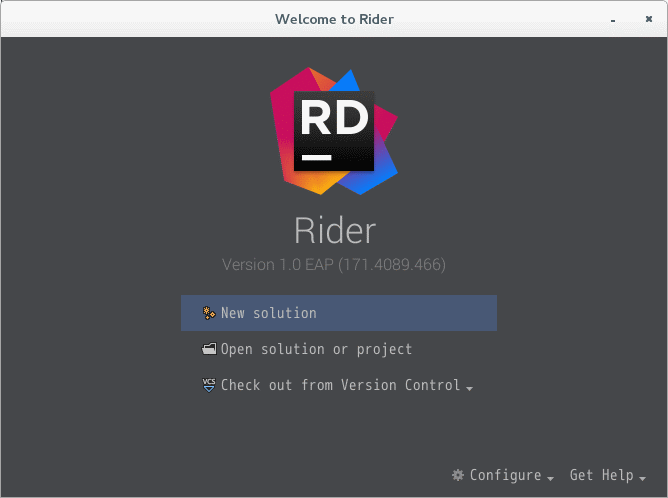
Conclusion
今回は導入のみ。
次回は、プロジェクトを作ってサンプルを実行してみます。