Introduction

自宅の仕事環境を刷新し、その際、煩わしいネットワーク構成を整理していた。
とあるノート PC を外部ネットワークから隔離したローカルネットワークに繋げていたが、そのためだけに有線ネットワークを作るのが嫌になったので、 余っていた Raspberry Pi に OpenWRT を入れてアクセスポイント化し、そこに繋げて無線のローカルネットワークにした。

その備忘録。
手順も簡単で感動した。

How to do?

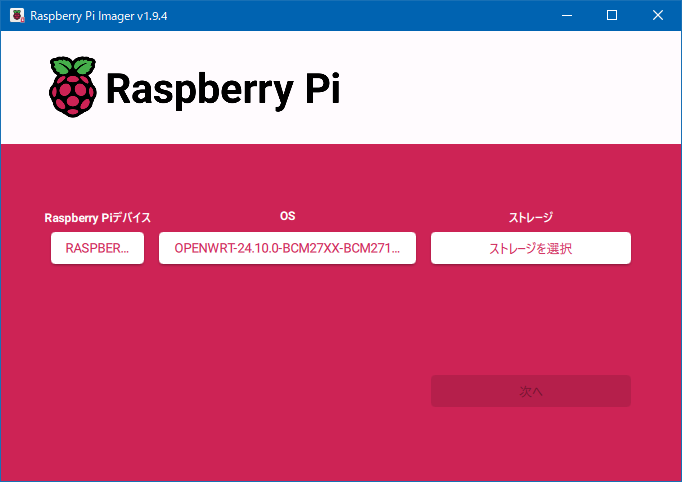
まず OpenWRT のイメージをダウンロードしてくる。

Raspberry Pi#Installation

Supported Versions のセクション内にある、Firmware OpenWrt Install URL と書かれている行から対応した Raspberry Pi のモデルと合致するリンクをクリック。

落としてきた openwrt-24.10.0-bcm27xx-bcm2710-rpi-3-ext4-factory.img.gzRaspberry Pi Imager を使って USB に書き込む。

Raspberry Pi Imager

サイズが 16 MB 程度しかないので、USB への書き込みはすぐに完了。

USB を Raspberry Pi に接続し、有線 LAN も繋げて電源を投入。
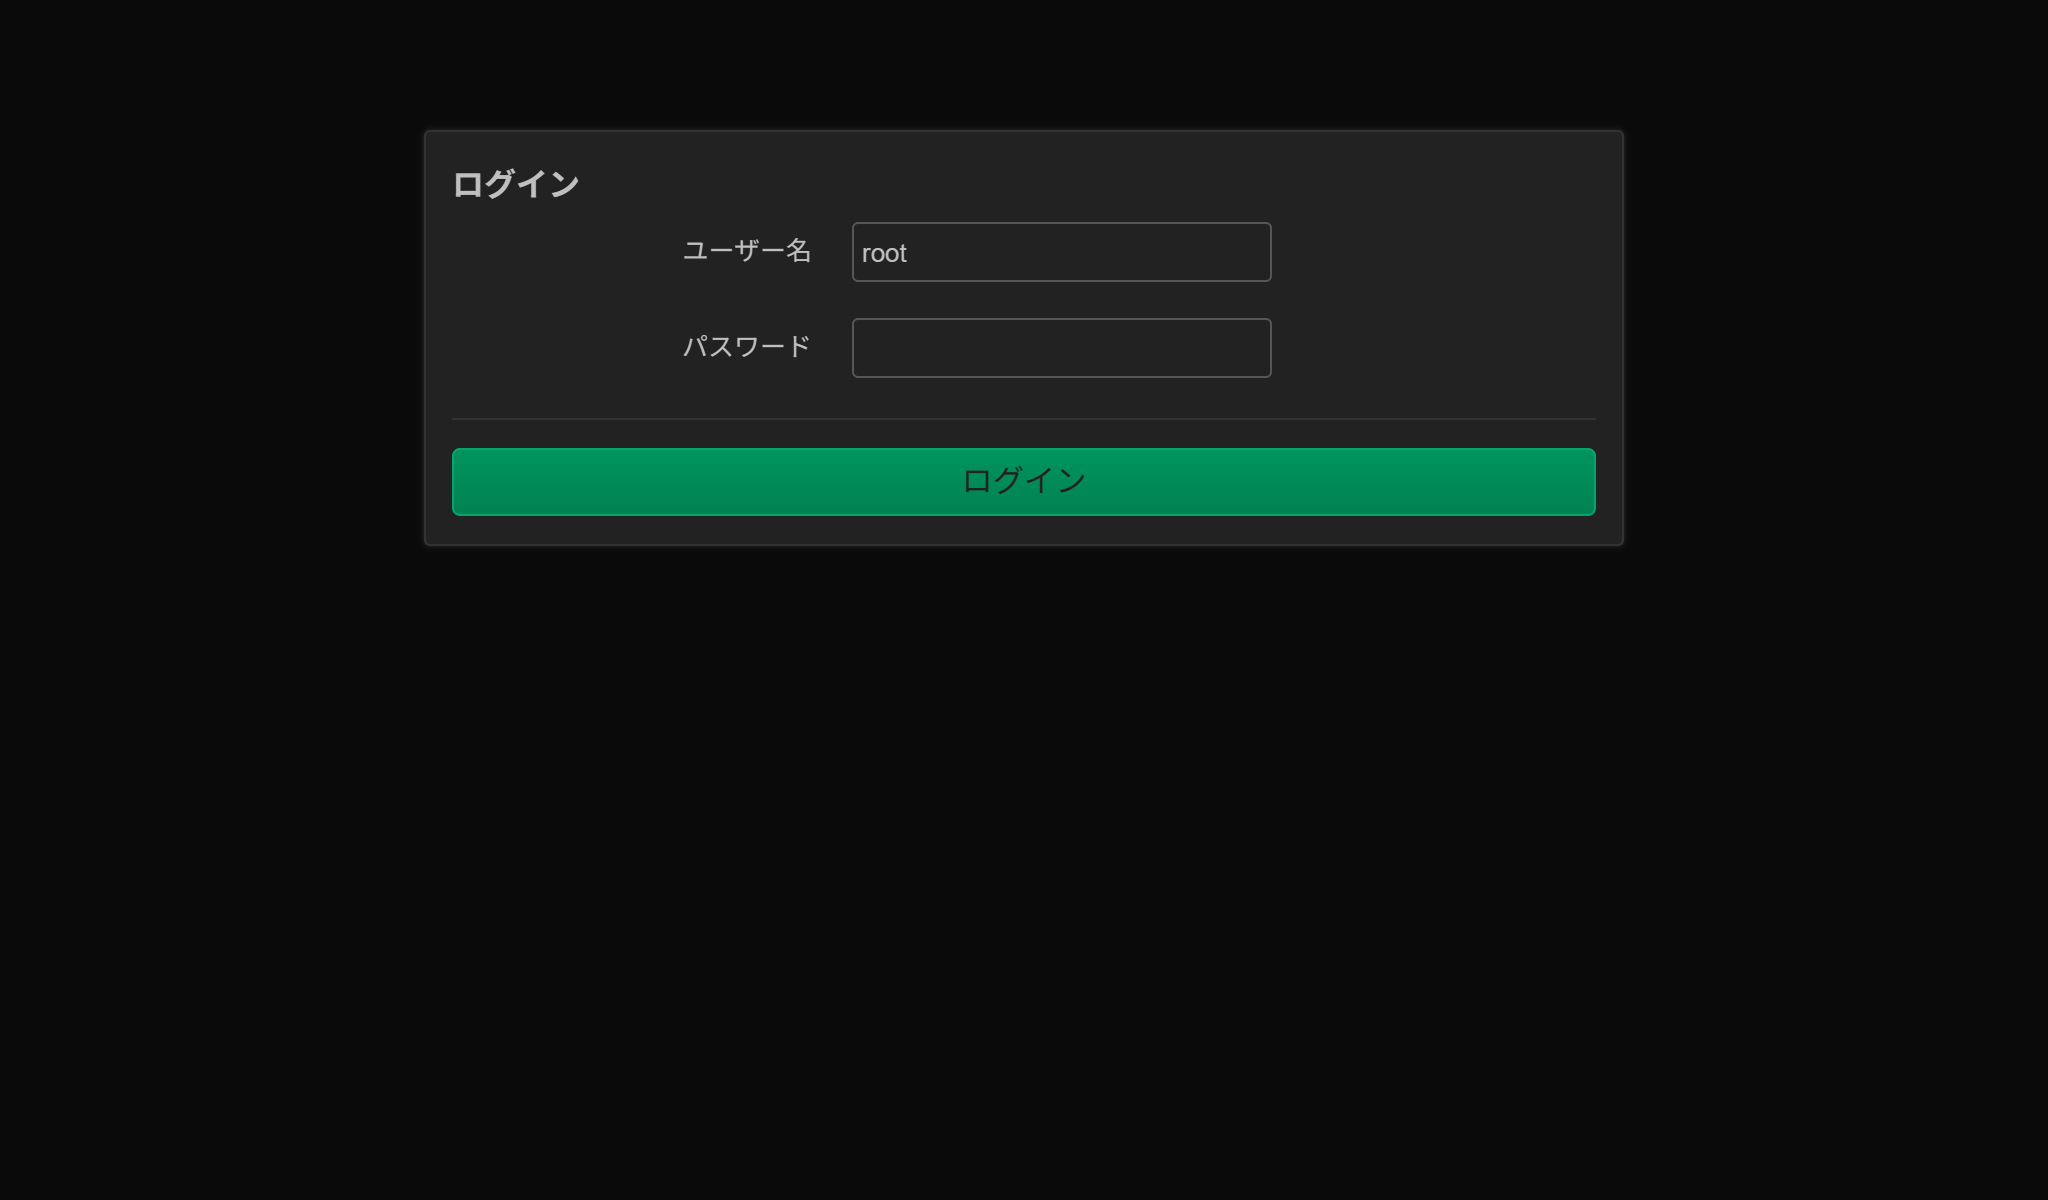
ssh が使えるので 192.168.1.1root でアクセス。
パスワードは設定されていないので適宜設定。

1
2
3
4
5
6
7
8
9
10
11
12
13
14
15
16
17
18
19
20
21
22
23
24
ssh root@192.168.1.1
The authenticity of host '192.168.1.1 (192.168.1.1)' can't be established.
ED25519 key fingerprint is SHA256:k4jl+APkEJvlWizvklnEqedTcaBNTQ2A3YwTNel6GxQ.
This key is not known by any other names.
Are you sure you want to continue connecting (yes/no/[fingerprint])? yes
Warning: Permanently added '192.168.1.1' (ED25519) to the list of known hosts.


BusyBox v1.36.1 (2025-02-03 23:09:37 UTC) built-in shell (ash)

_______ ________ __
| |.-----.-----.-----.| | | |.----.| |_
| - || _ | -__| || | | || _|| _|
|_______|| __|_____|__|__||________||__| |____|
|__| W I R E L E S S F R E E D O M
-----------------------------------------------------
OpenWrt 24.10.0, r28427-6df0e3d02a
-----------------------------------------------------
=== WARNING! =====================================
There is no root password defined on this device!
Use the "passwd" command to set up a new password
in order to prevent unauthorized SSH logins.
--------------------------------------------------
root@OpenWrt:~#

IP を変更する

自分はローカルルータとして使うつもりだったので、デフォルトの 192.168.1.1 のままでよかったのですが、後述のパッケージをインストールする必要があったので、一時的に外部に繋がるネットワークに接続。

1
2
3
4
5
$ uci set network.lan.ipaddr=192.168.11.23
$ uci set network.lan.gateway=192.168.11.1
$ uci set network.lan.dns=192.168.11.17
$ uci commit
$ service network restart

タイムゾーンを変更する

日本に設定。

1
2
3
4
5
6
7
$ uci set system.@system[0].zonename=Asia/Tokyo
$ uci set system.@system[0].timezone=JST-9
$ uci commit system
$ /etc/init.d/system reload
$ /etc/init.d/sysntpd restart
$ date
Sun Jul 20 21:50:28 JST 2025

Wi-Fi の有効化

wireless.radio0.countrywireless.radio0.txpower が重要。

  • wireless.radio0.country
    • Wi-Fi 電波の送信出力 (単位 dBm)
    • 値を高く設定しても、規制制限以上は出力されない
  • wireless.radio0.country
    • Wi-Fi の電波規制を準拠する国を指定
    • 使用可能なチャンネルや送信出力が制限される
1
2
3
4
5
6
7
$ uci set wireless.radio0.disabled=0
$ uci set wireless.radio0.country=JP
$ uci set wireless.radio0.txpower=10
$ uci set wireless.default_radio0.encryption=psk2
$ uci set wireless.default_radio0.key=[パスワード (英数字+記号で8~63文字)]
$ uci commit wireless
$ /etc/init.d/network reload

Wi-Fi に新しいネットワークセグメントを追加

vi を使って /etc/config/network に下記を追加

1
2
3
4
config interface 'wifi_net'
option proto 'static'
option ipaddr '192.168.1.1'
option netmask '255.255.255.0'

DHCP を適用したいなら vi を使って /etc/config/dhcp に下記を追加

1
2
3
4
5
config dhcp 'wifi_net'
option interface 'wifi_net'
option start '100'
option limit '150'
option leasetime '12h'

自分は各マシンが自分で IP を管理する方式を使いたかったので DHCP は設定せず。

最後に Wi-Fi の先のネットワーク設定を紐づける。
vi を使って /etc/config/wireless を下記のように編集。

1
2
3
4
5
 config wifi-iface 'default_radio0'
option device 'radio0'
- option network 'lan'
+ option network 'wifi_net'
option mode 'ap'

そして設定を適用。
(後者は DHCP を設定した場合に必要)

1
2
$ /etc/init.d/network restart
$ /etc/init.d/dnsmasq restart

LuCI のインストール (オプション)

Web で管理したい場合は下記を実行

1
2
3
4
5
6
$ opkg update --no-check-certificate && opkg install ca-certificates --no-check-certificate
$ opkg update && opkg install luci && opkg install \
luci-i18n-base-ja \
luci-i18n-firewall-ja \
luci-i18n-package-manager-ja
$ service uhttpd restart

設定した IP にブラウザからアクセス。

login