Introduction
前回 は Windows マシンを Entra ID に参加させた。
今回は Ubuntu マシンを参加させてみる。
ただし、結論としてドメインユーザでログインはできるが、マシンそのものを Entra ID の管理下に置くことはできない点に注意。
Description
公式の Install authd and brokers for cloud identity providers を参考にする。
検証環境は
- Ubuntu 24.04 LTS
1. authd のインストール
1 | $ sudo add-apt-repository ppa:ubuntu-enterprise-desktop/authd && sudo apt update |
2. identity broker のインストール
identity broker とは認証プロバイダ (identity provider) とのインターフェースを提供するサービス。
Google IAM と Microsoft Entra ID のタブがあるので後者を選択。
1 | $ sudo snap install authd-msentraid |
3. authd の設定準備
1 | $ sudo mkdir -p /etc/authd/brokers.d/ |
4. アプリケーションの登録
identity broker を OAuth 2.0 アプリケーションとして Entra ID に登録していく。
Azure ポータル から Microsoft Entra 管理センター に進み、アプリの管理 を押下。
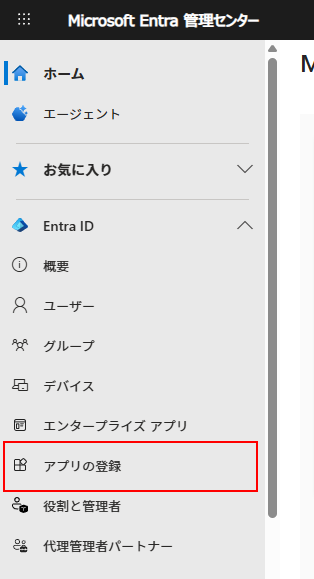
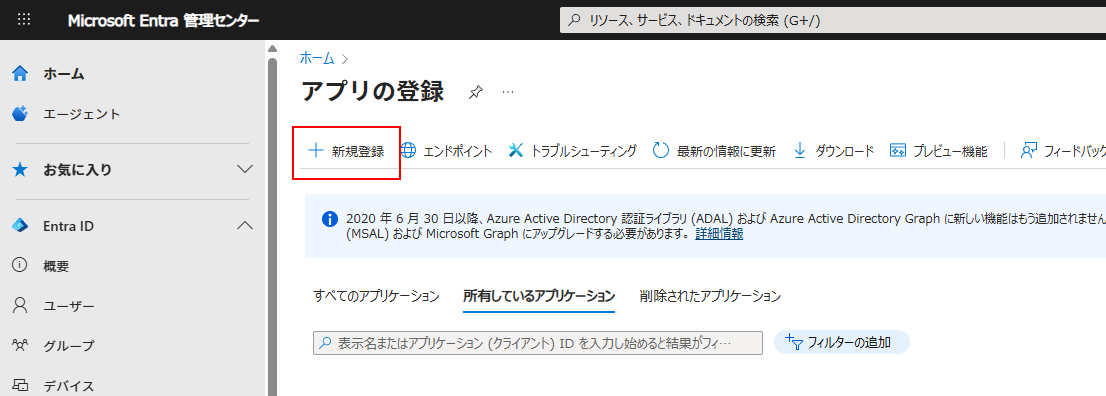
新規登録 を押下。
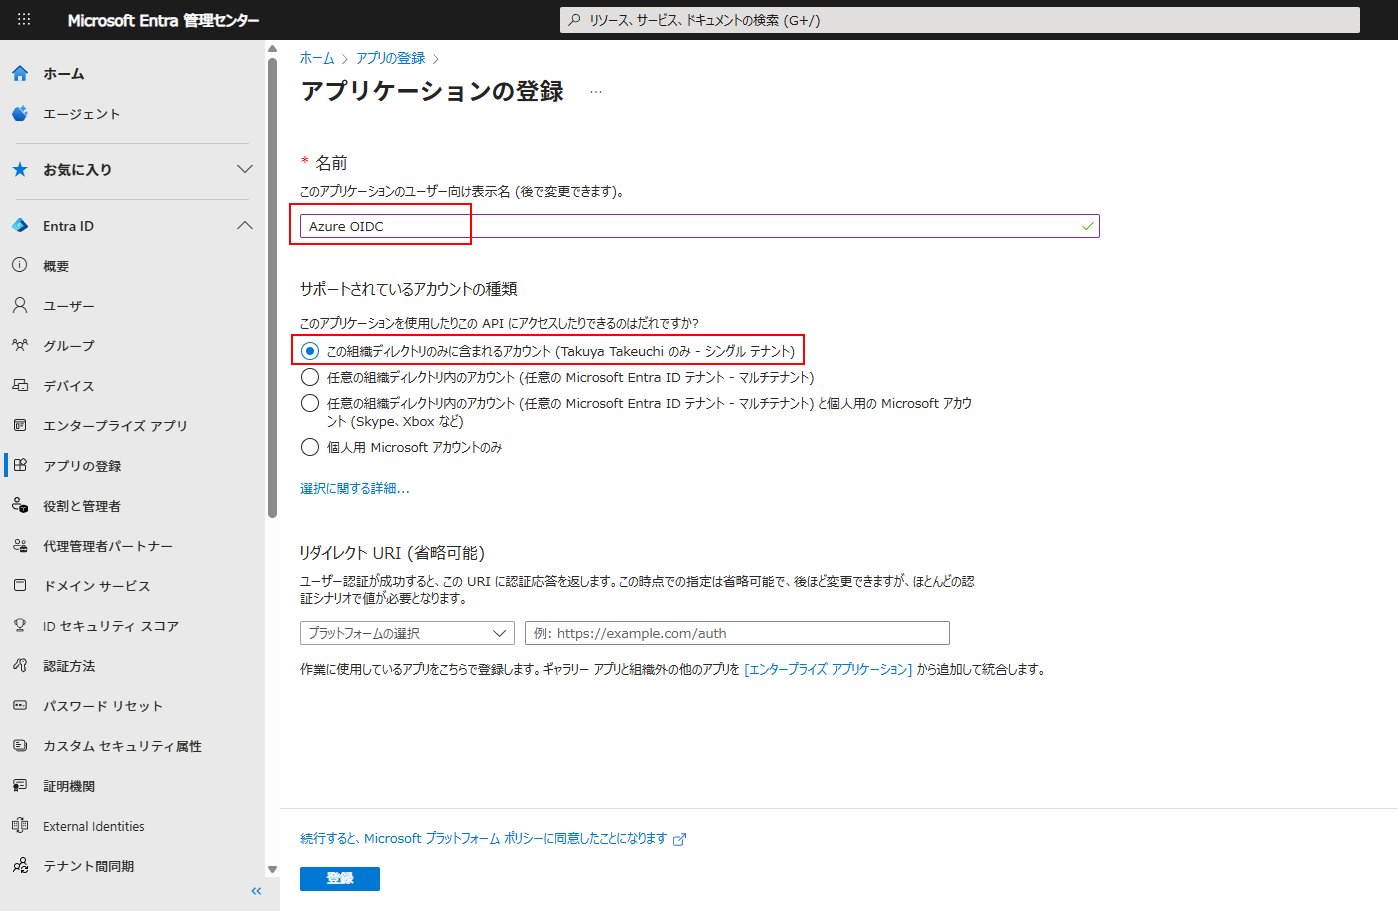
名前 を入力 (何でもよい)、この組織ディレクトリのみに含まれるアカウント (XXXX YYYY のみ - シングルテナント) を選択し、登録 を押下。
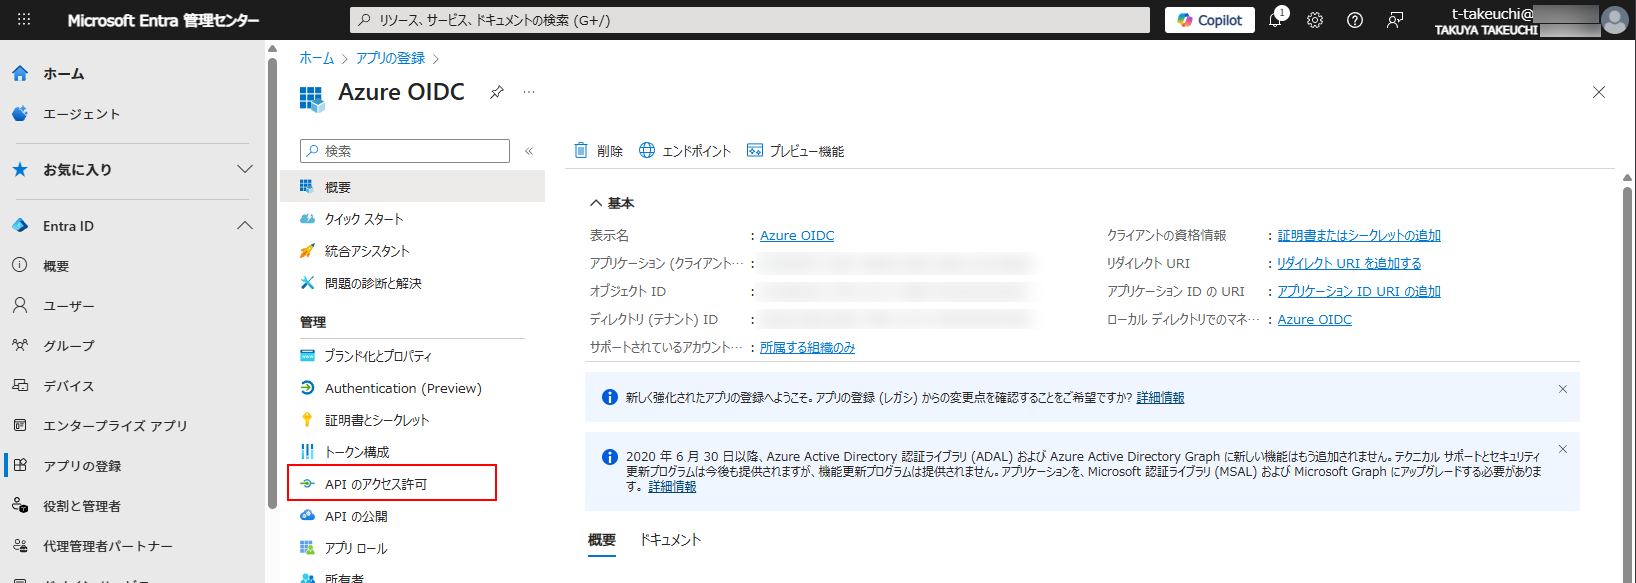
アプリケーションが作成される
アプリケーション (クライアント) ID は
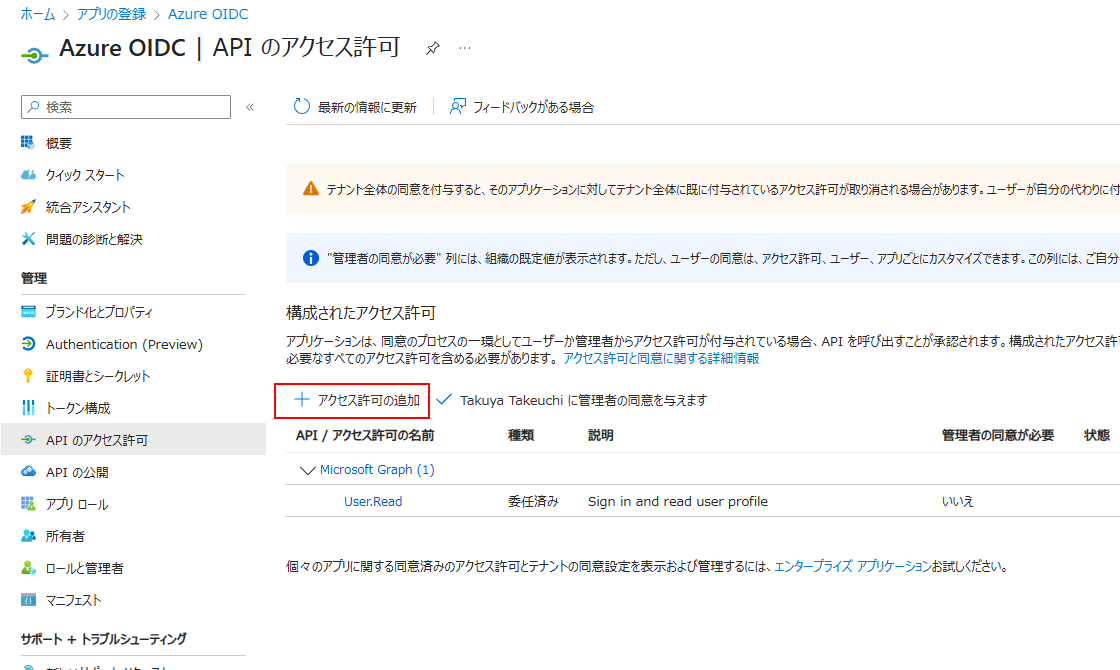
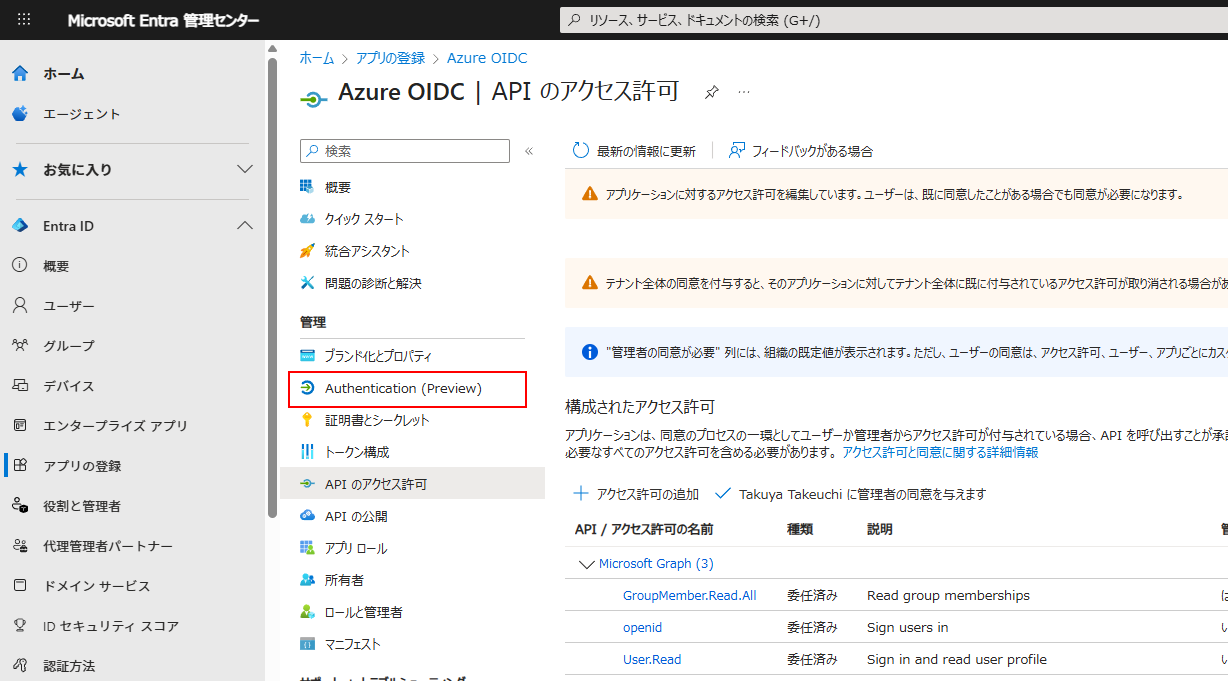
次に API アクセス許可 を押下。
アクセス許可の追加 を押下
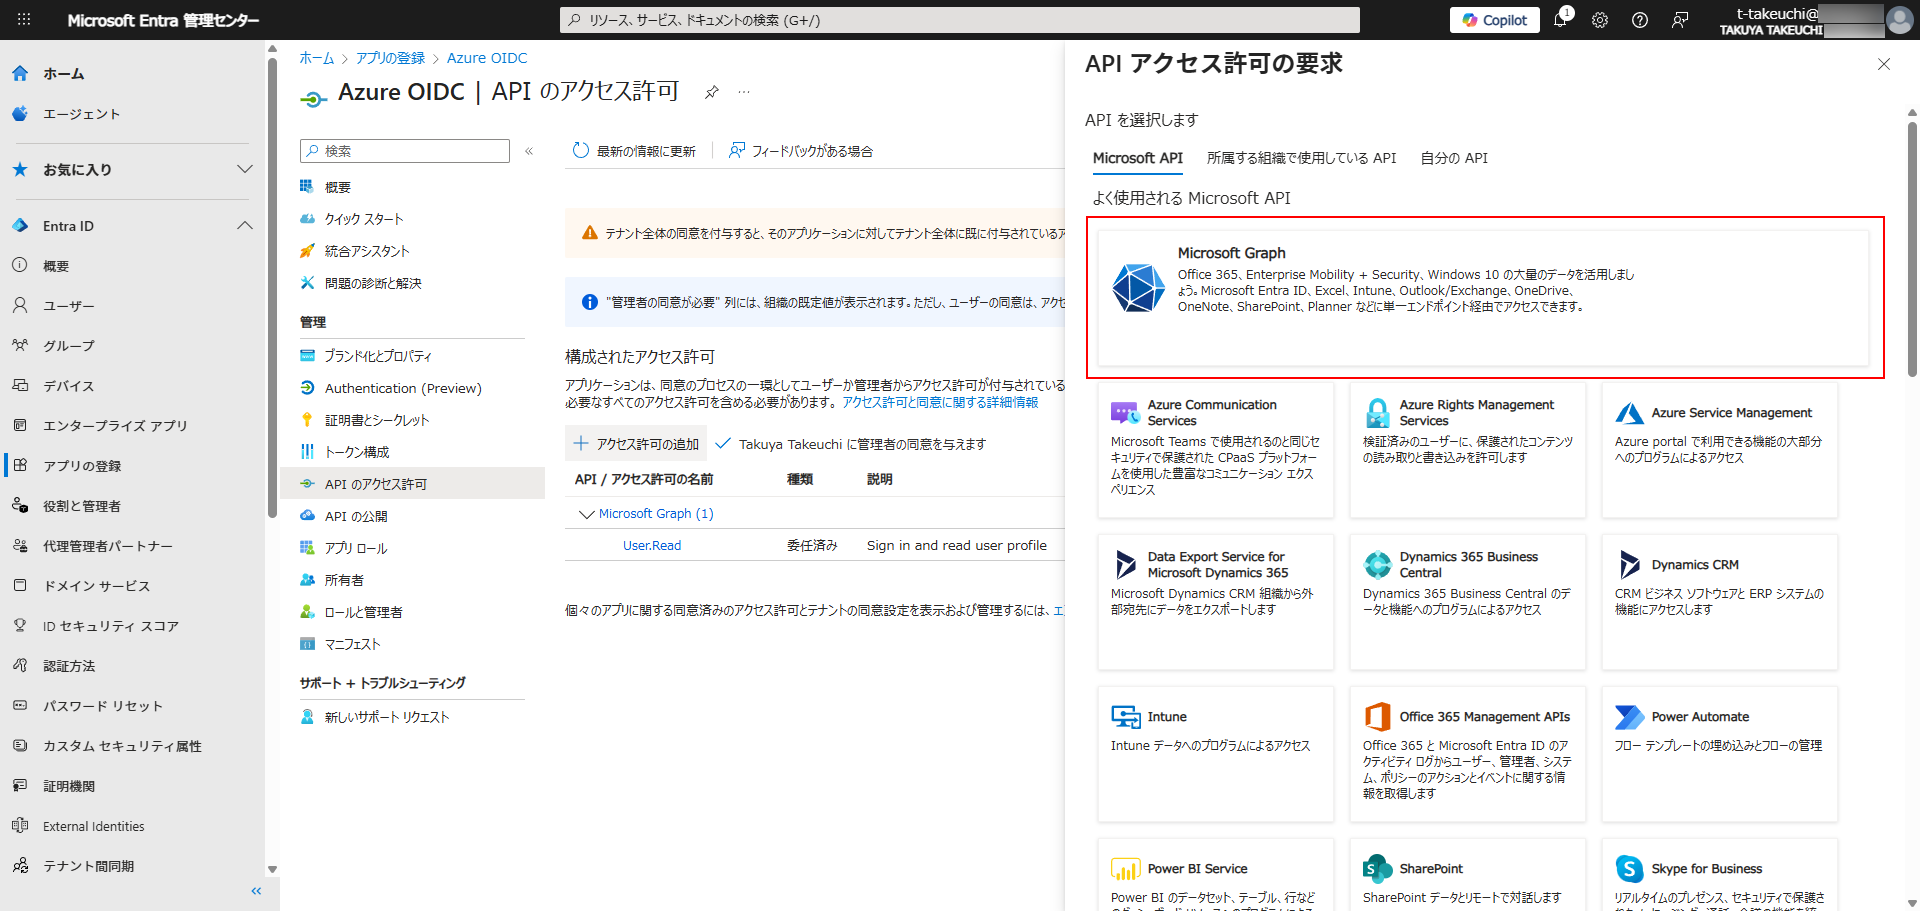
Microsoft Graph を押下
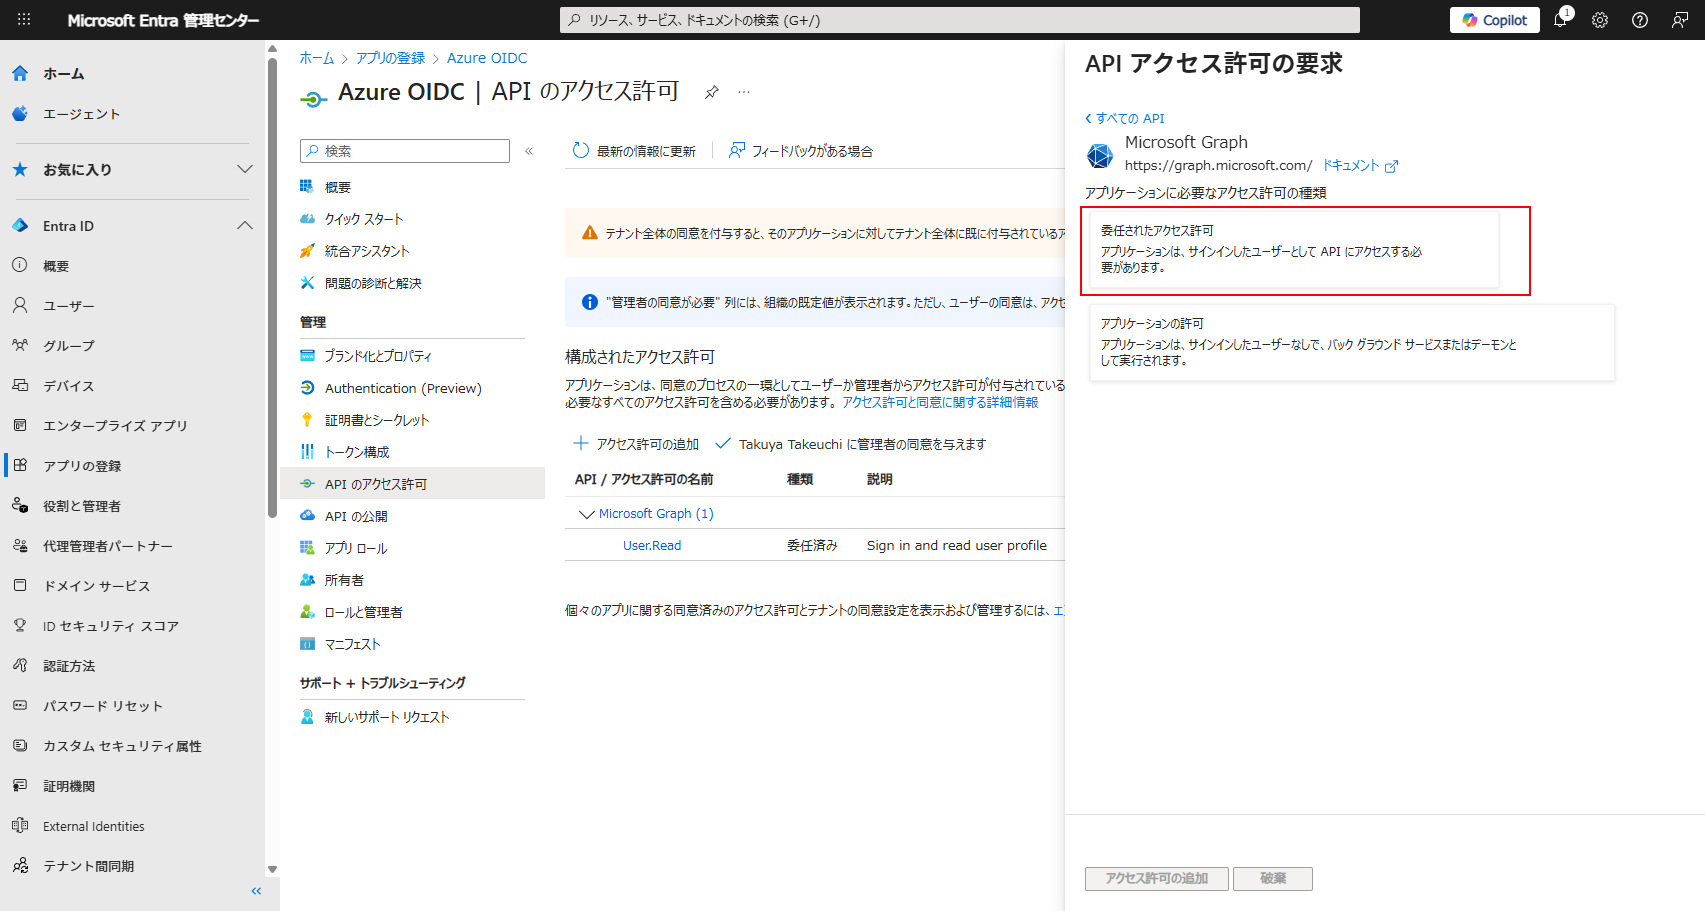
委任されたアクセスの許可 を押下
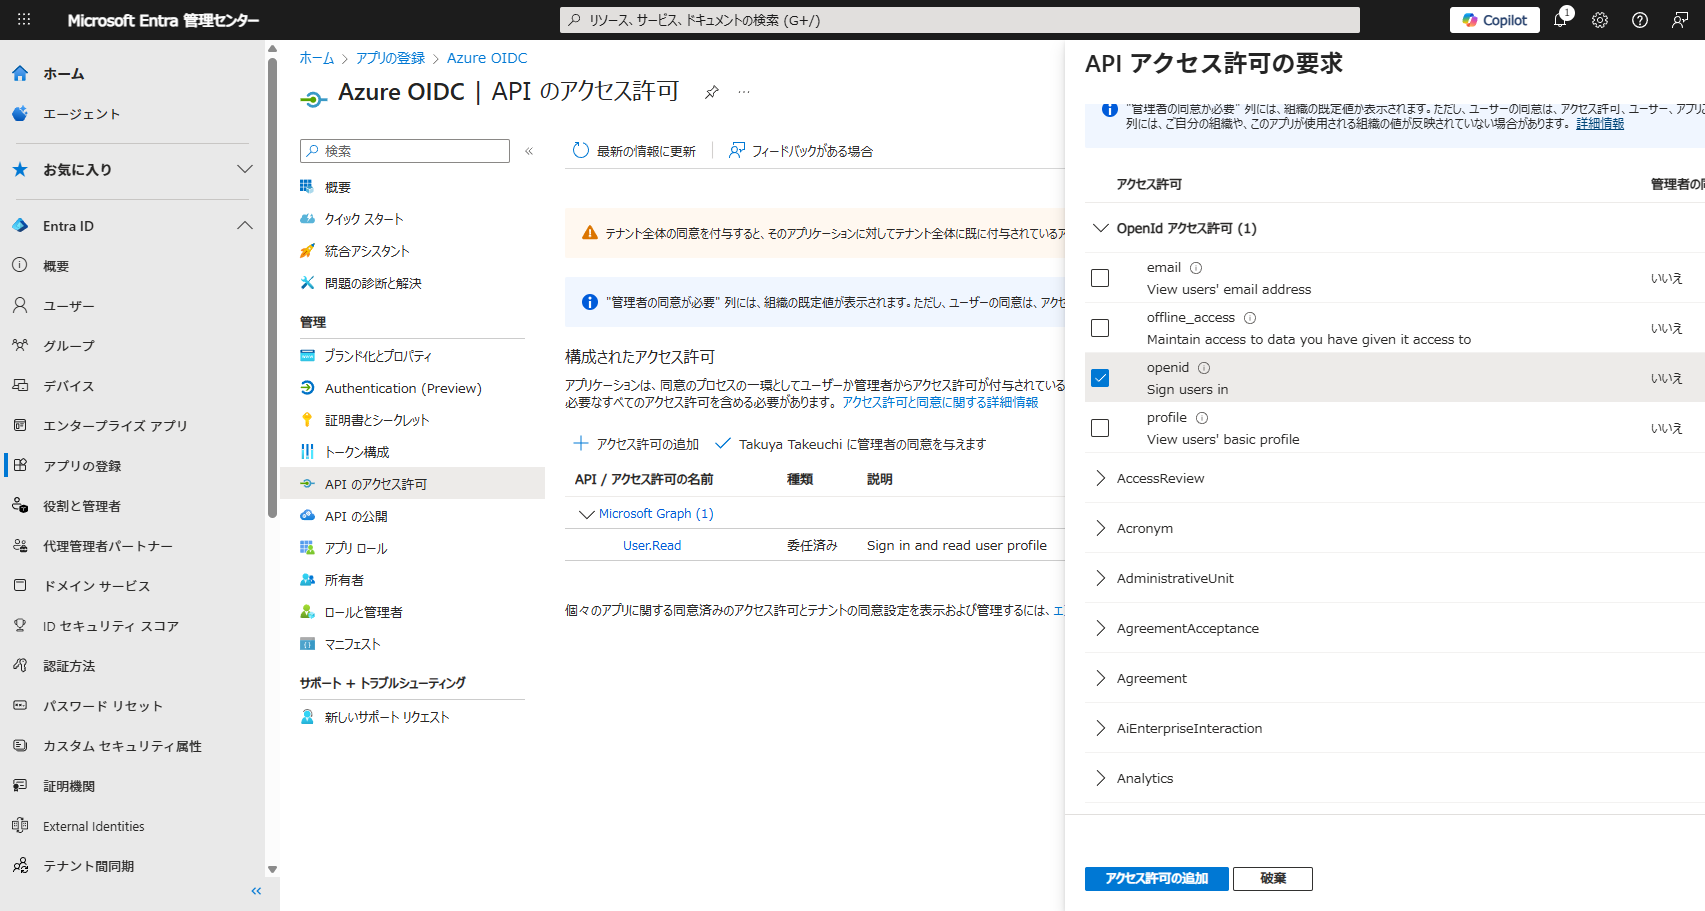
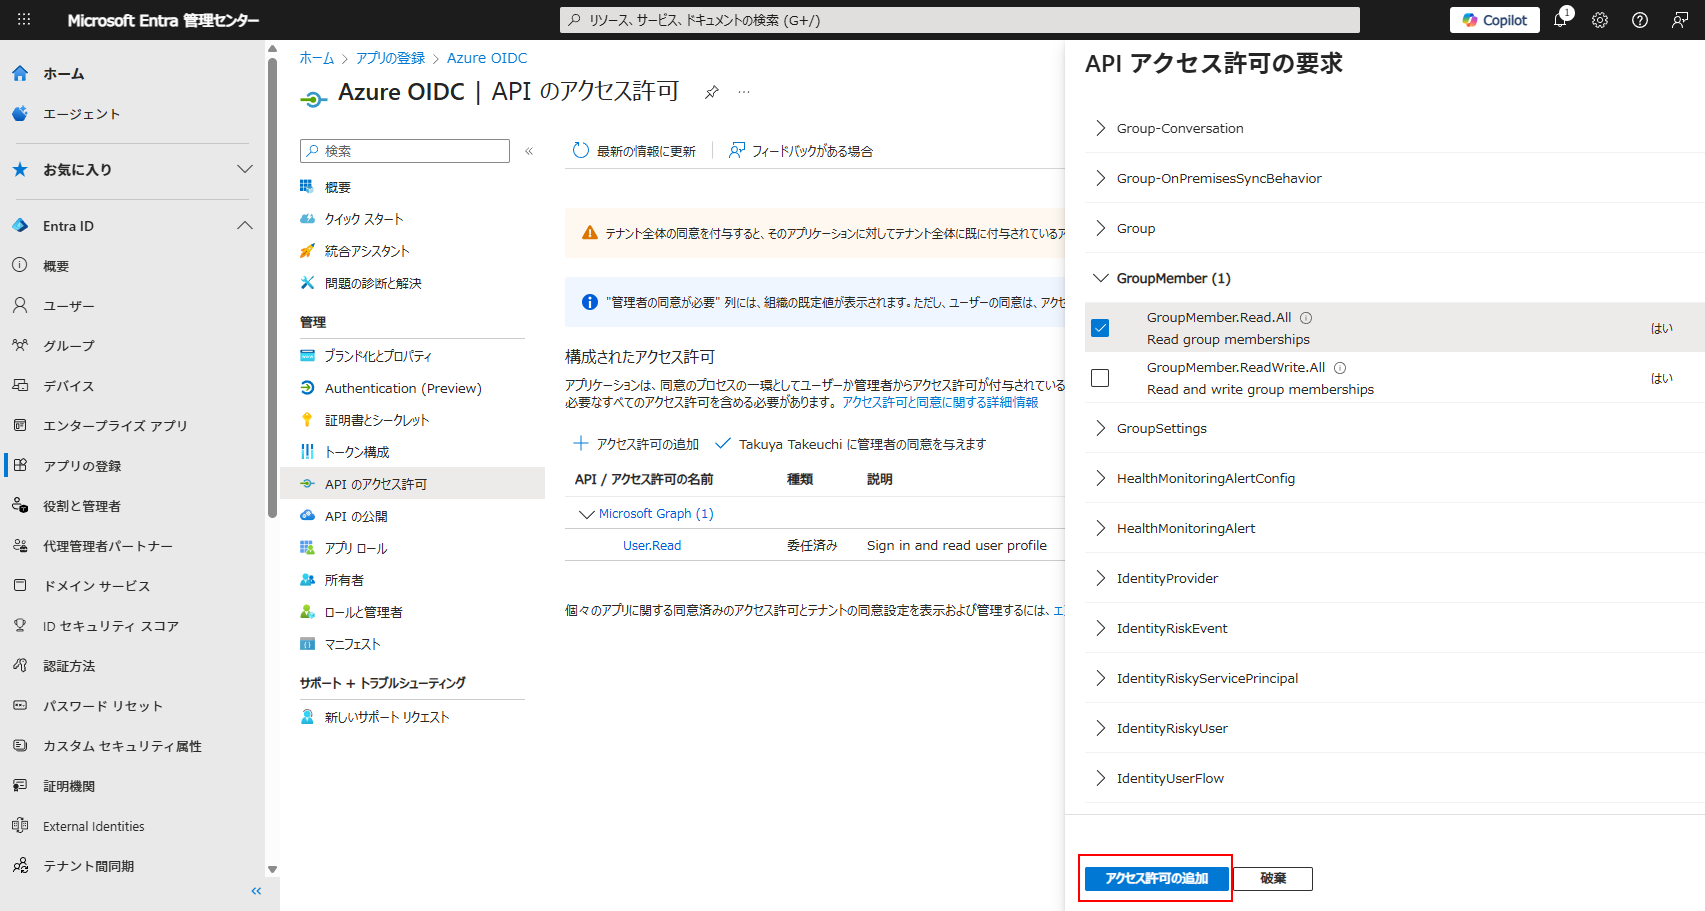
OpenID アクセス許可 内の openid をチェック
GroupMember 内の GroupMember.ReadAll をチェックして、アクセス許可の追加 を押下
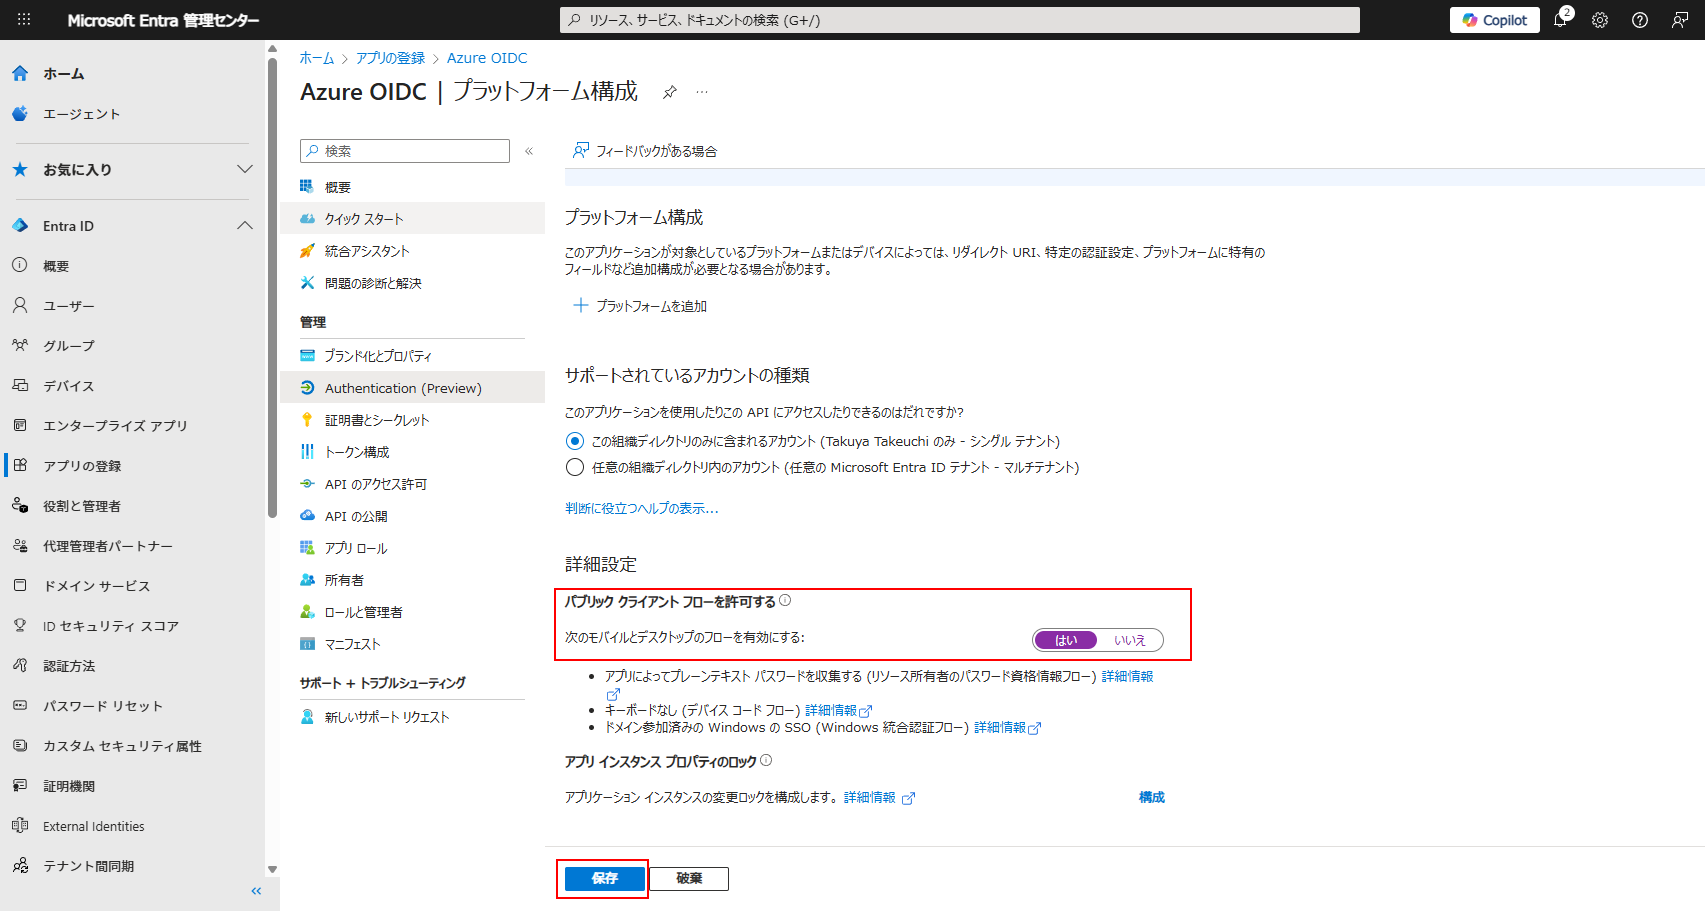
Authentication (Preview) を押下
ここでバグなのか、保存 ボタンが見当たらないため、画面上部の Welcome to the new and improved experience for authentication. To switch to the old experience, please click here. に従い、古い UI に変更する。
そして、パブリック クライアント フローを許可する トグルを 有効 に変更して 保存 ボタンを押下。
5. broker の設定
/var/snap/authd-msentraid/current/broker.conf を編集。
初期設定が下記になっている。
1 | [oidc] |
下記のように編集していく (GUID の値は適当)。
1 | [oidc] |
は アプリケーション (クライアント) ID は ディレクトリ (テナント) ID
になるため、登録したアプリの概要画面で再度確認しておく。
注意
と を逆に入力すると、ログイン時に Microsoft Entra ID を選択しても何も起こらず、困ることになるので要注意 (戒め) force_provider_authenticationをtrueにすると、インターネットへの接続に問題があるときログインができなくなる可能性があるので注意。
6. 許可されたユーザーを設定する
マシンを利用する利用者や所有者を制御する場合の設定。
自分は特に必要ではなかったので省略。
参考: 許可されたユーザーを設定する
7. 設定の反映
1 | $ sudo systemctl restart authd |
ブローカーの構成が更新された場合は、ブローカーを再起動する必要もあります。
1 | $ sudo snap restart authd-msentraid |
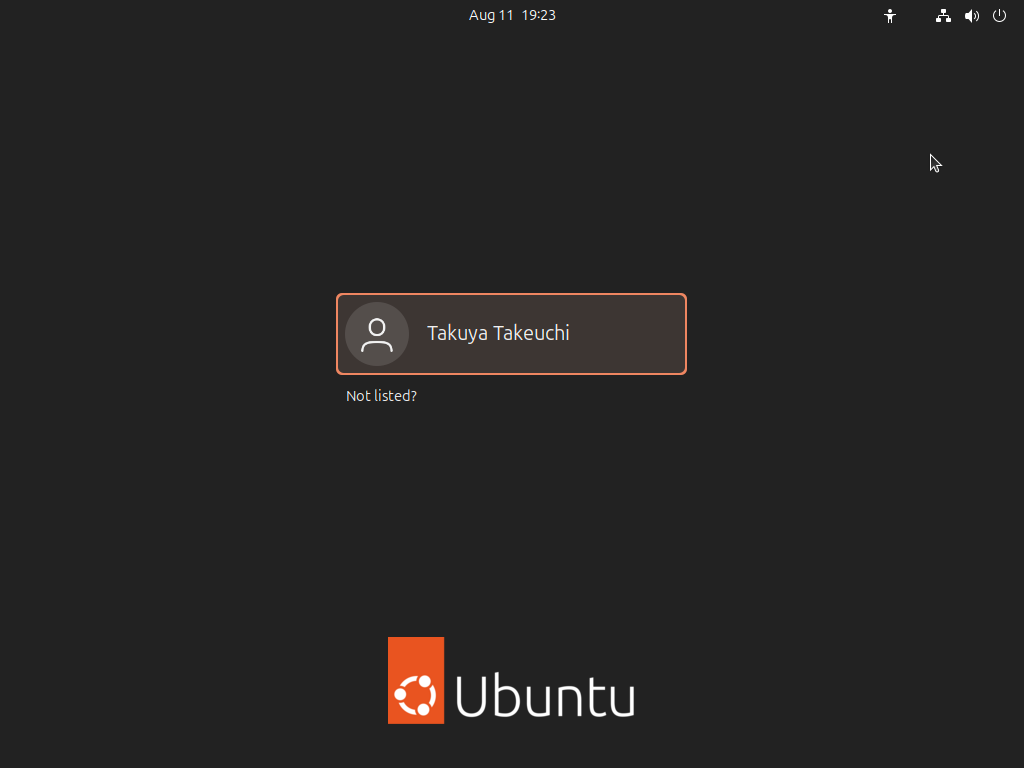
8. GUI からドメインユーザでログイン
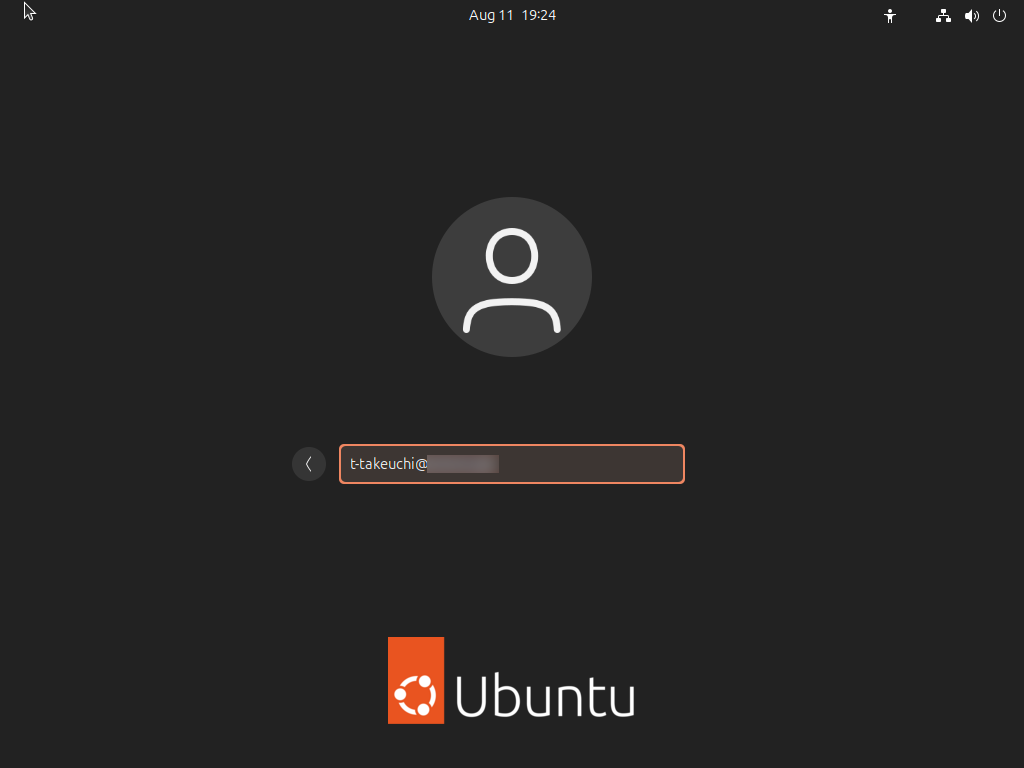
ログイン画面に移動し、Not listed? を選択
ドメインユーザのメールアドレスを入力し Enter を押下
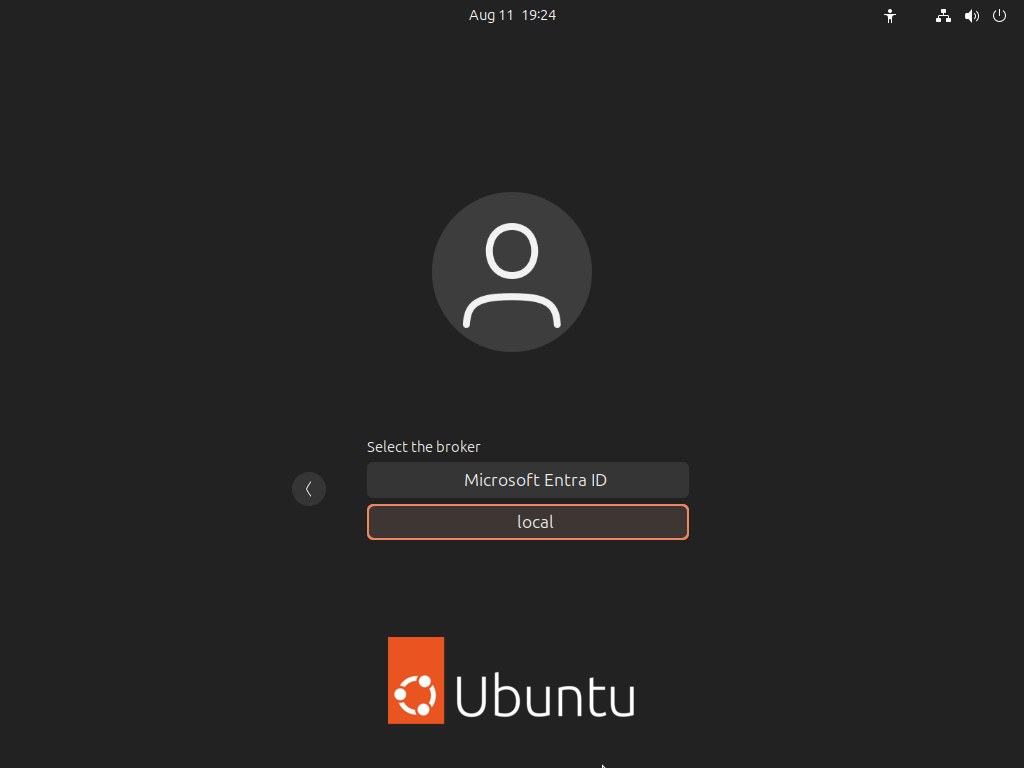
ブローカーの選択が表示されるので Microsoft Entra ID を選択
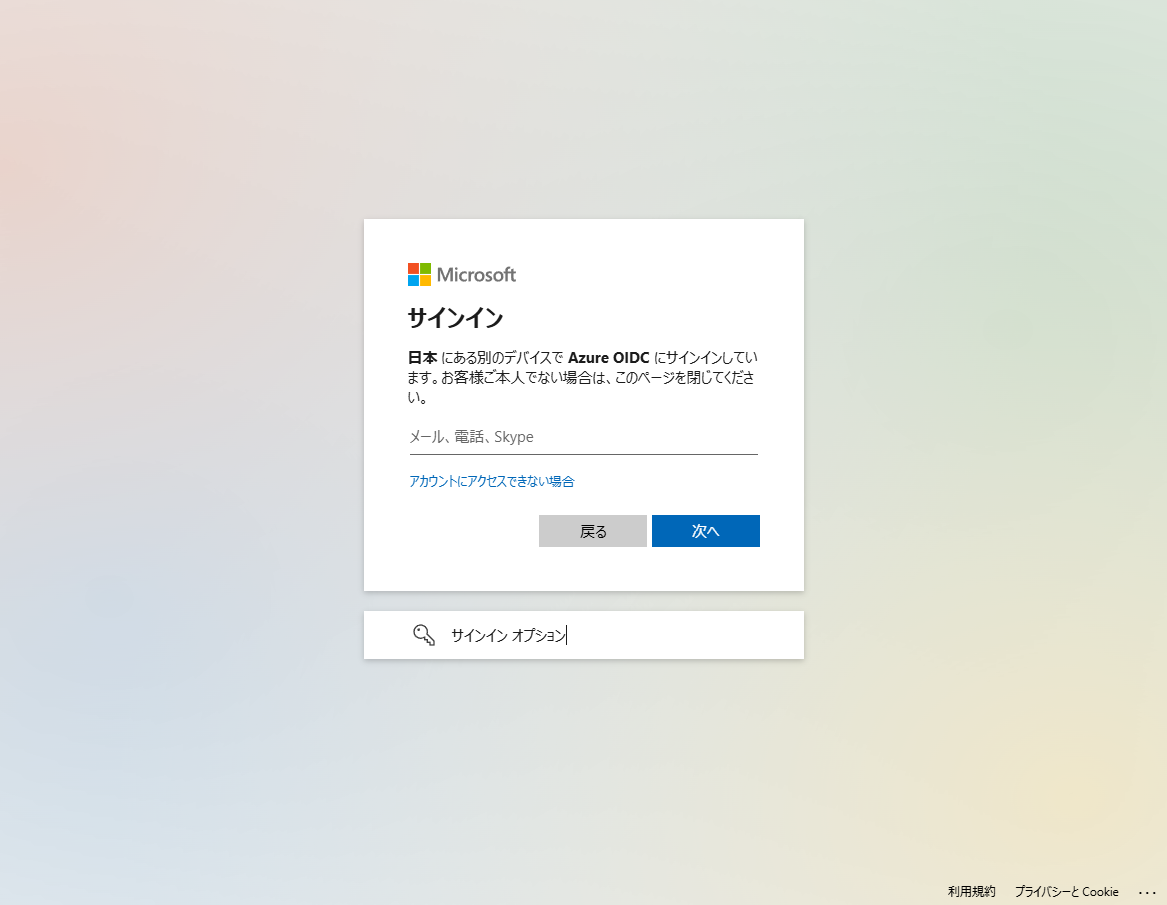
QR コードが表示されるのでスマートフォンのカメラで認識しブラウザを開くか、https://microsoft.com/devicelogin に手動でアクセス。
(Microsoft Authenticator の QR コードスキャンではない点に注意)
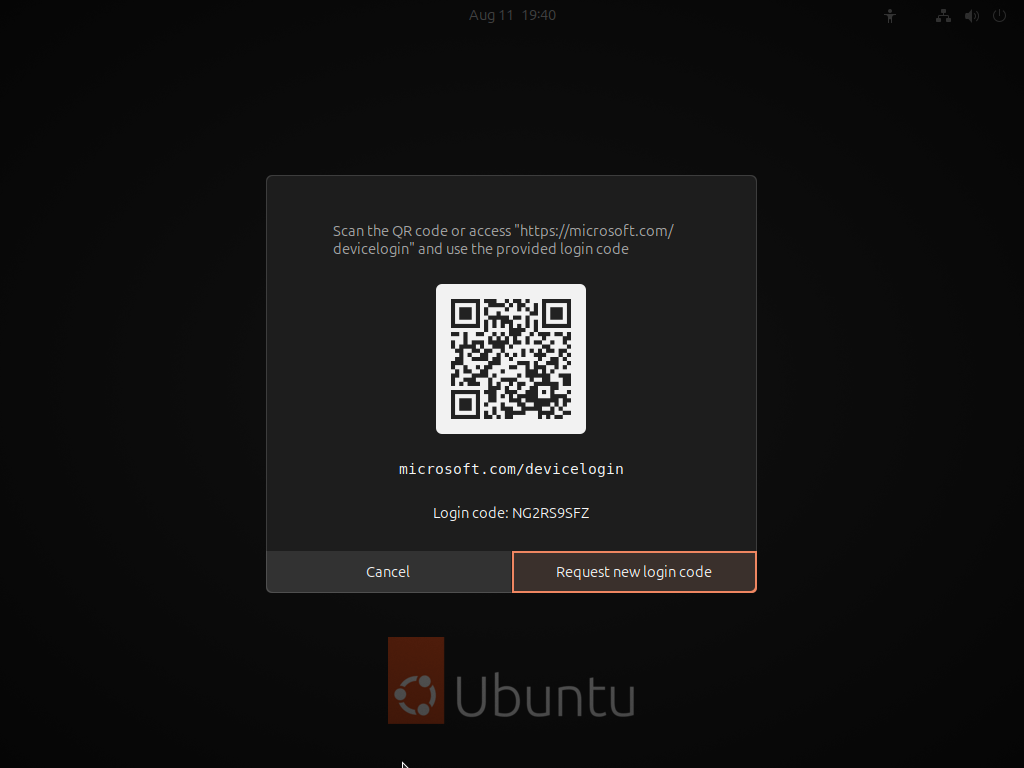
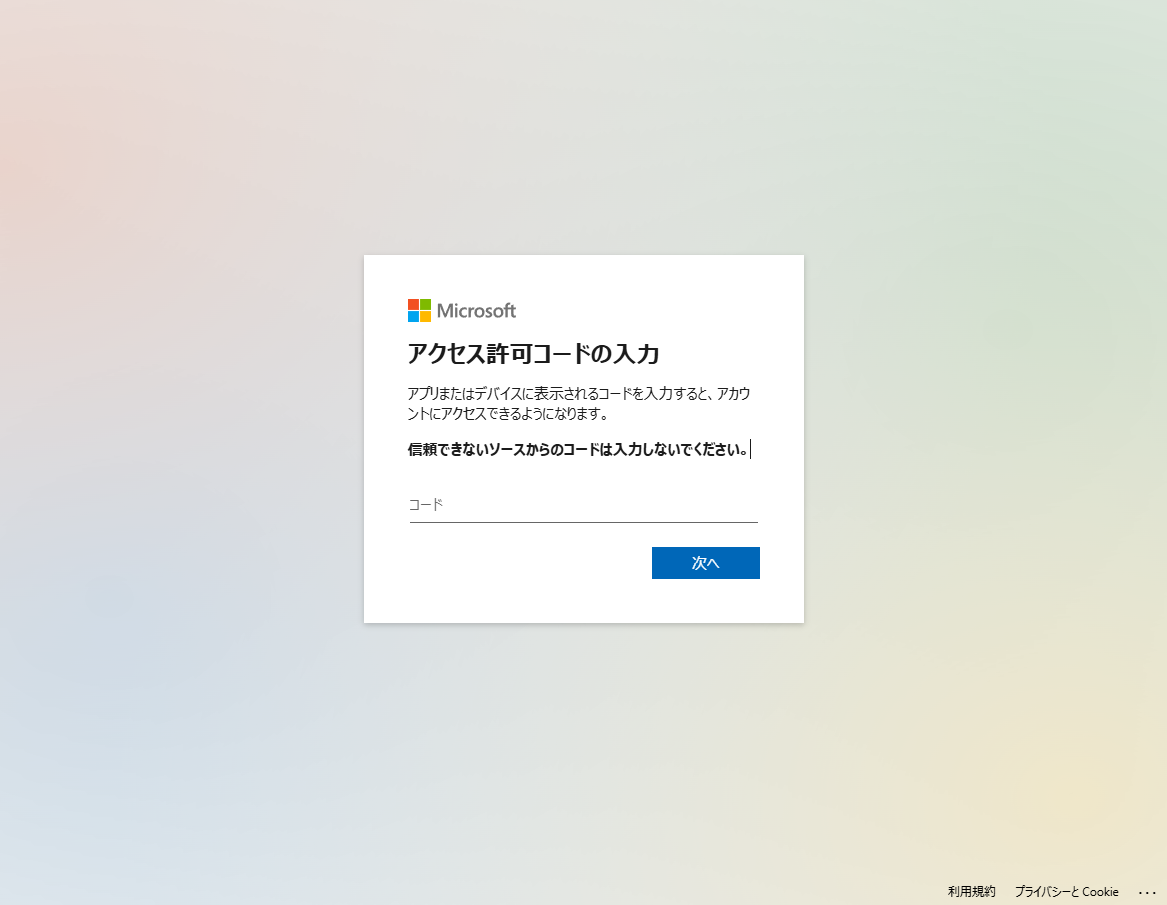
先の画面の Login code を入力
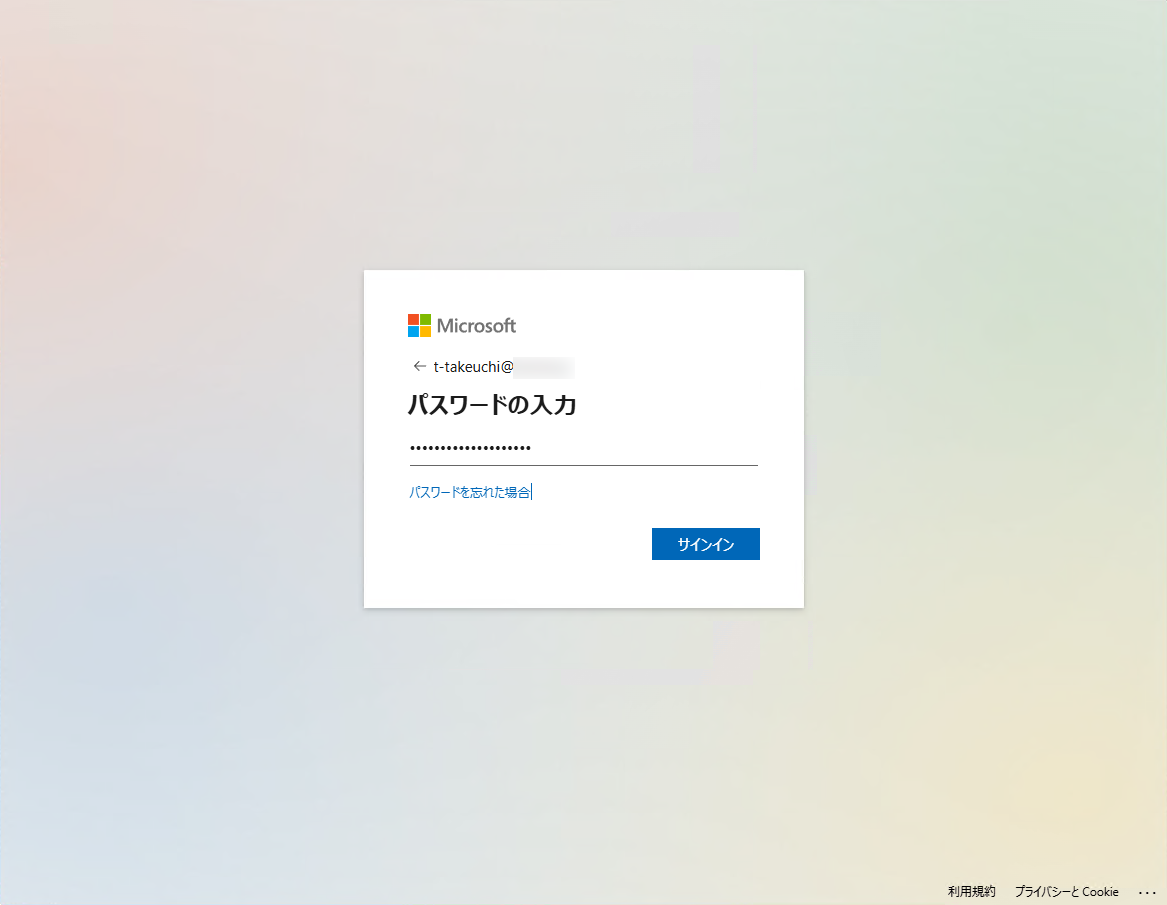
再度、ドメインユーザのメールアドレスを入力
ドメインユーザのパスワードを入力
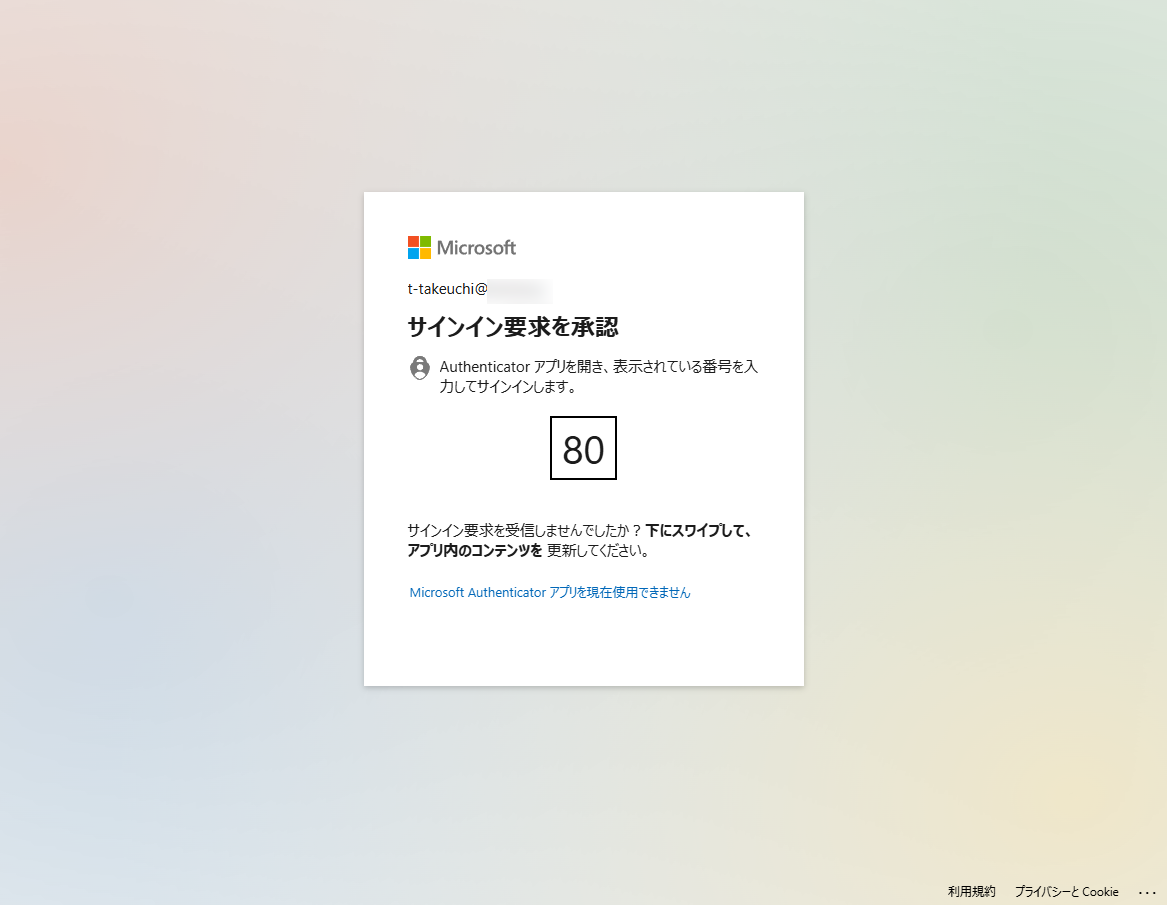
MFA 認証が行われるので適宜対処
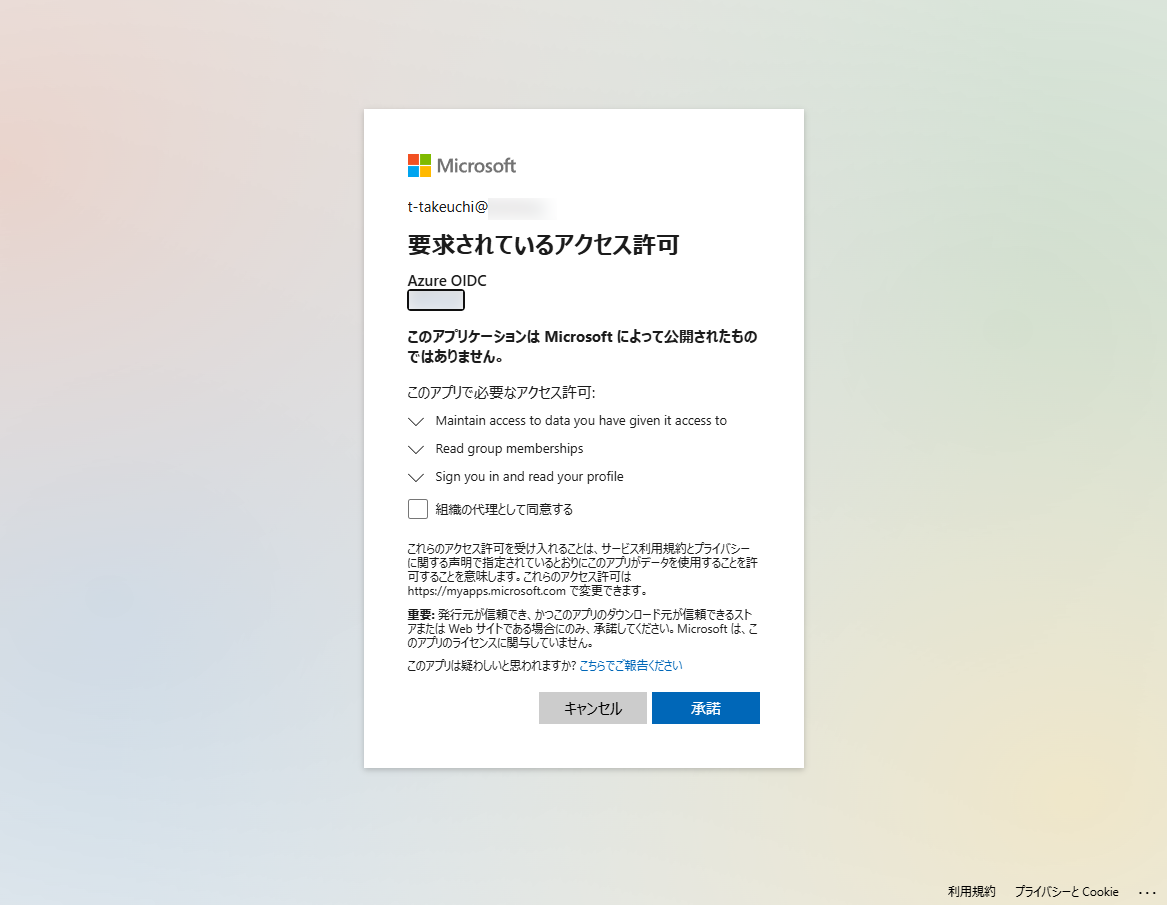
承諾 を押下
ブラウザを閉じてログイン画面に戻る

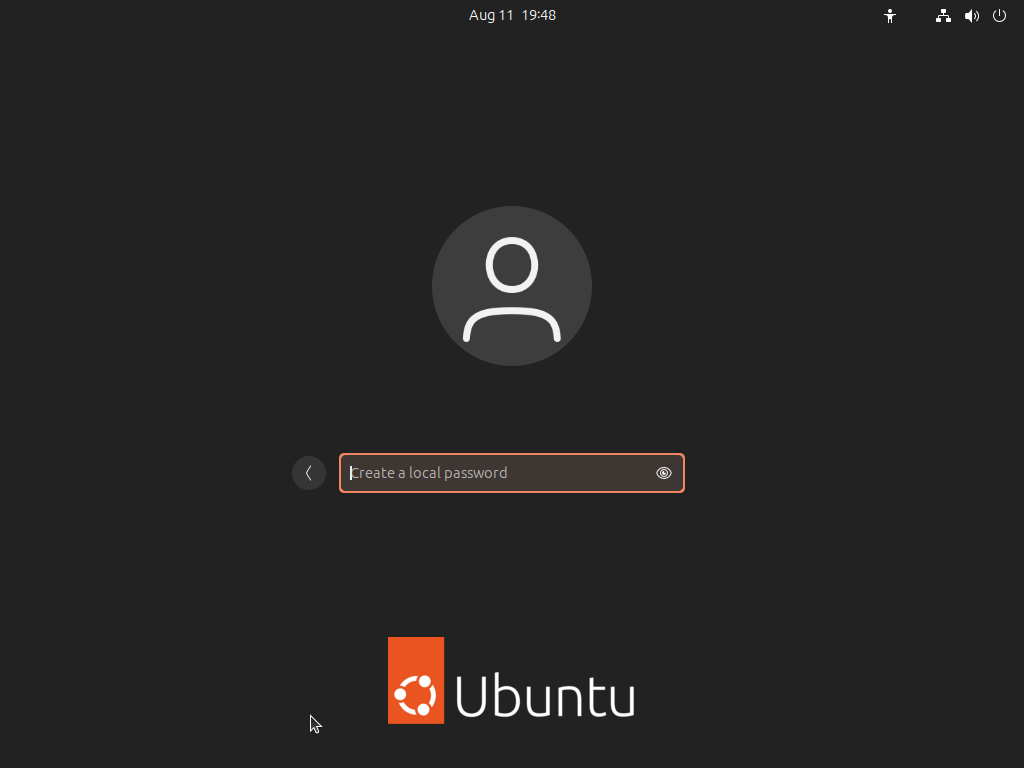
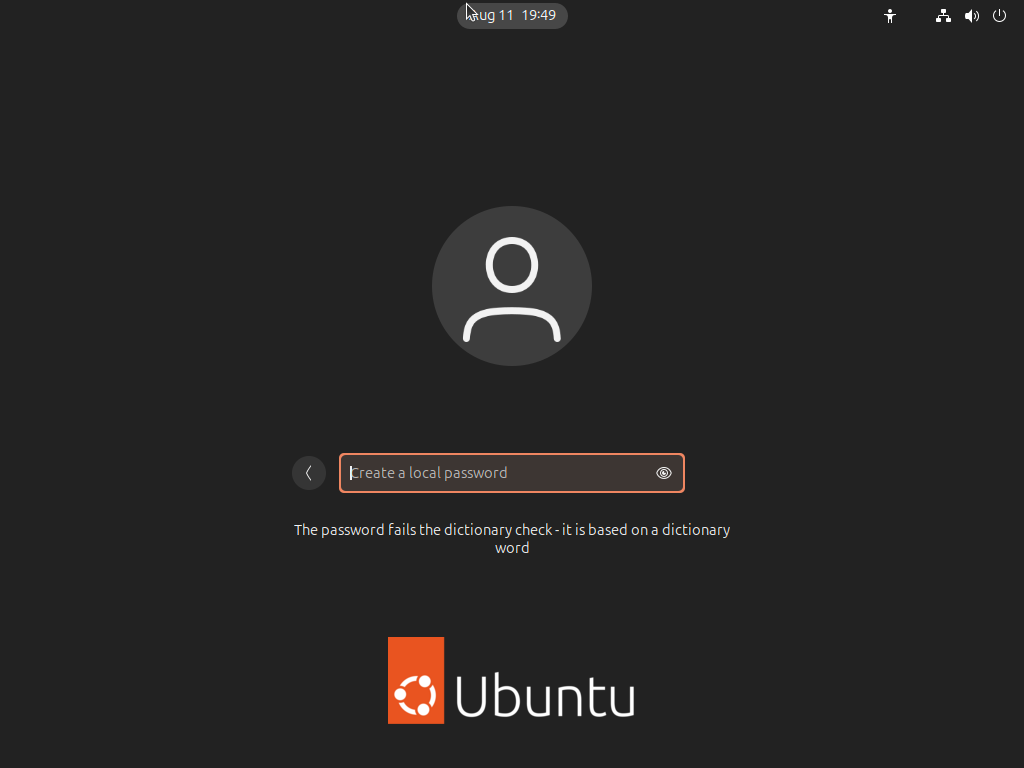
オフライン時のためのパスワードを作成
もし、辞書にあるような単純なパスワードを使用するとエラーになるのでやり直し
パスワード作成後は、OS 新規インストールのツアーガイドが表示され、いつも通りのデスクトップが表示される。
ターミナルから whoami や echo $HOME を実行するとドメインユーザであり、対応したホームディレクトリが生成されていることがわかる。
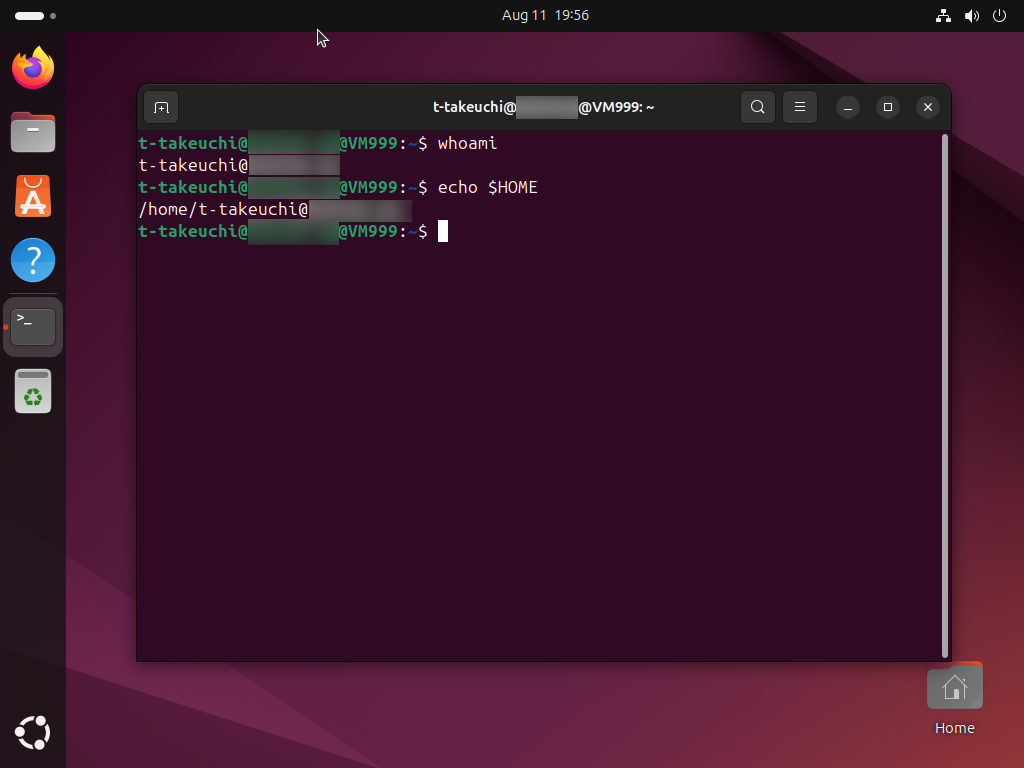
以上でドメインユーザでのログインまでが完了した。
冒頭に上げたように、authd を使っても、 Entra ID の管理デバイス対象にはならない点には注意が必要。
Microsoft Entra 管理センター でデバイス一覧を確認してもデバイスが増えていないことからも分かる。
9. SSH からドメインユーザでログイン
事前に準備が必要。/etc/ssh/sshd_config.d/authd.conf を作成し下記を記載。
1 | UsePAM yes |
設定を反映するために ssh デーモンを再起動
1 | $ sudo systemctl restart ssh |
SSH でログインしてみる。
IPの前に普通にユーザ名とドメインを結合した値をユーザとして指定するだけで特別なことは無い。
1 | ssh -t-takeuchi@hogehoge.jp@192.168.11.35 |
注意するのは Choose action と聞かれた際に、 1 を入力してから認証をしないと認証に失敗してしまう点にある。