昨日の続き。

Experimentation

1. UISlider

まずは、MonoTouch.UIKit.UISliderを追加します。
これは .NET でいう System.Windows.Forms.TrackBarになります。
また、UISliderの現在値を表示するMonoTouch.UIKit.UILabelも一緒に追加します。
これは .NET でいう System.Windows.Forms.Labelになります。

1
2
3
4
5
6
7
8
9
10
11
12
13
14
15
16
17
18
19
20
21
22
23
24
25
26
27
28
29
30
31
32
33
34
35
36
37
38
39
40
41
42
43
44
45
46
47
48
49
50
51
52
53
54
55
56
57
58
59
60
61
62
63
64
65
66
67
68
69
70
71
72
73
74
public class MyViewController : UIViewController
{
UIButton button;
UISlider slider; // ADD
UILabel label; // ADD
int numClicks = 0;
float buttonWidth = 200;
float buttonHeight = 50;

public MyViewController()
{
}

public override void ViewDidLoad()
{
base.ViewDidLoad();

View.Frame = UIScreen.MainScreen.Bounds;
//View.BackgroundColor = UIColor.White;
View.BackgroundColor = UIColor.Black;
View.AutoresizingMask = UIViewAutoresizing.FlexibleWidth | UIViewAutoresizing.FlexibleHeight;

button = UIButton.FromType(UIButtonType.RoundedRect);

button.Frame = new RectangleF(
View.Frame.Width / 2 - buttonWidth / 2,
View.Frame.Height / 2 - buttonHeight / 2,
buttonWidth,
buttonHeight);

button.BackgroundColor = UIColor.White; // Add
button.SetTitle("Click me", UIControlState.Normal);

button.TouchUpInside += (object sender, EventArgs e) =>
{
button.SetTitle(String.Format("clicked {0} times", numClicks++), UIControlState.Normal);
};

button.AutoresizingMask = UIViewAutoresizing.FlexibleWidth | UIViewAutoresizing.FlexibleTopMargin |
UIViewAutoresizing.FlexibleBottomMargin;

View.AddSubview(button);

// ADD
slider = new UISlider();
slider.Frame = new RectangleF(
View.Frame.Width / 2 - buttonWidth / 2,
button.Frame.Bottom + 10,
buttonWidth,
buttonHeight);
slider.MaxValue = 100;
slider.MinValue = 0;
slider.Value = 50;
slider.ValueChanged += (sender, args) =>
{
label.Text = slider.Value.ToString();
};

View.AddSubview(slider);

label = new UILabel();
label.Frame = new RectangleF(
View.Frame.Width / 2 - buttonWidth / 2,
slider.Frame.Bottom + 10,
buttonWidth,
buttonHeight);
label.TextColor = UIColor.White;
label.TextAlignment = UITextAlignment.Center;
label.Text = slider.Value.ToString();

View.AddSubview(label);
}

}

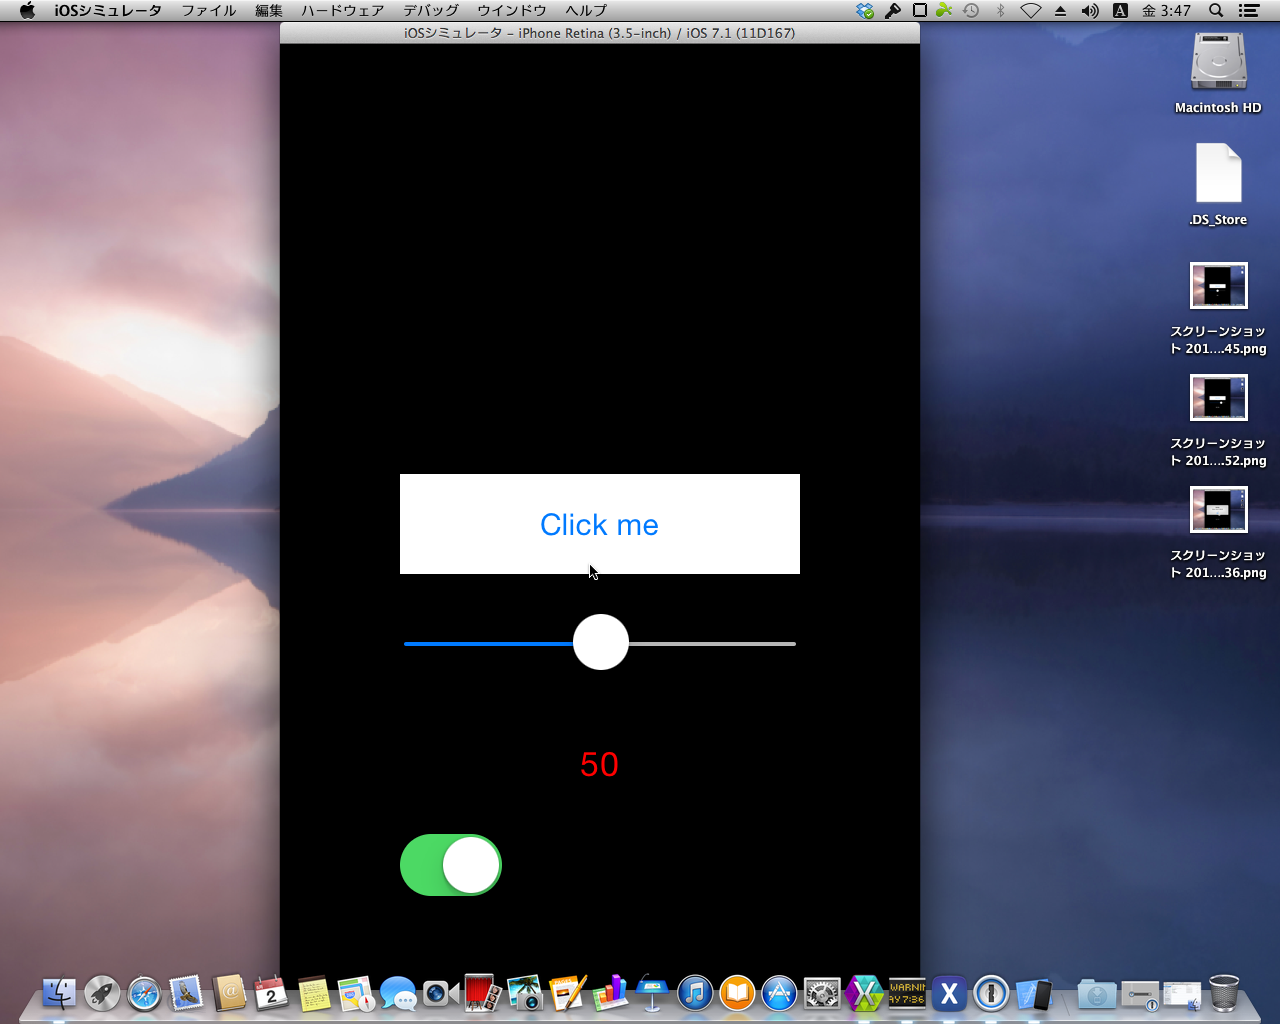
ボタンの上にUISliderが追加されました。
あと、 ビルド実行するとこうなります。

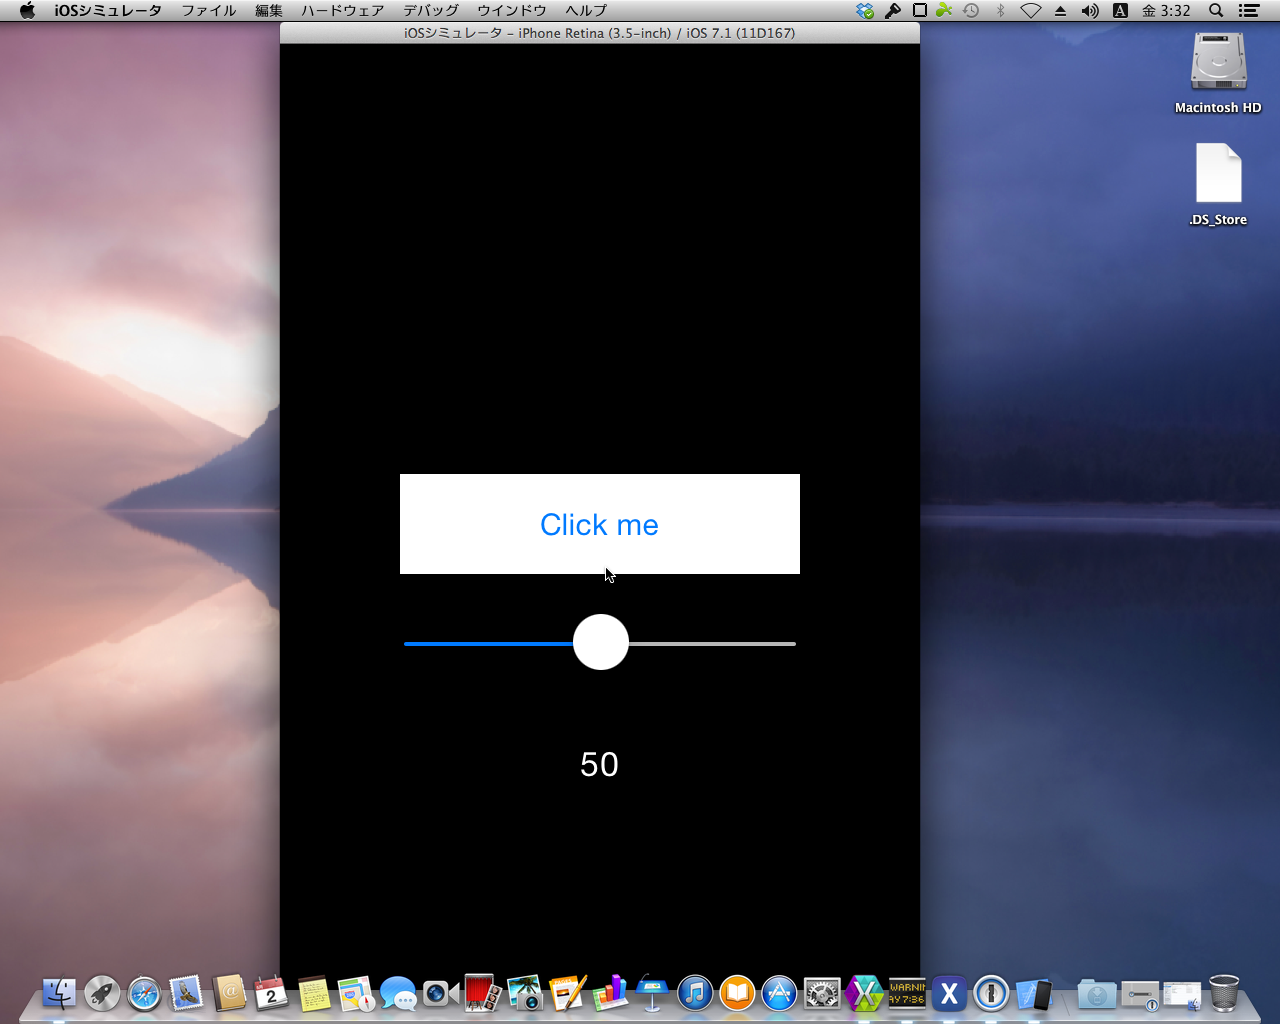
スライダーを動かすと、スライダーの位置に応じてラベルの数値が変化します。
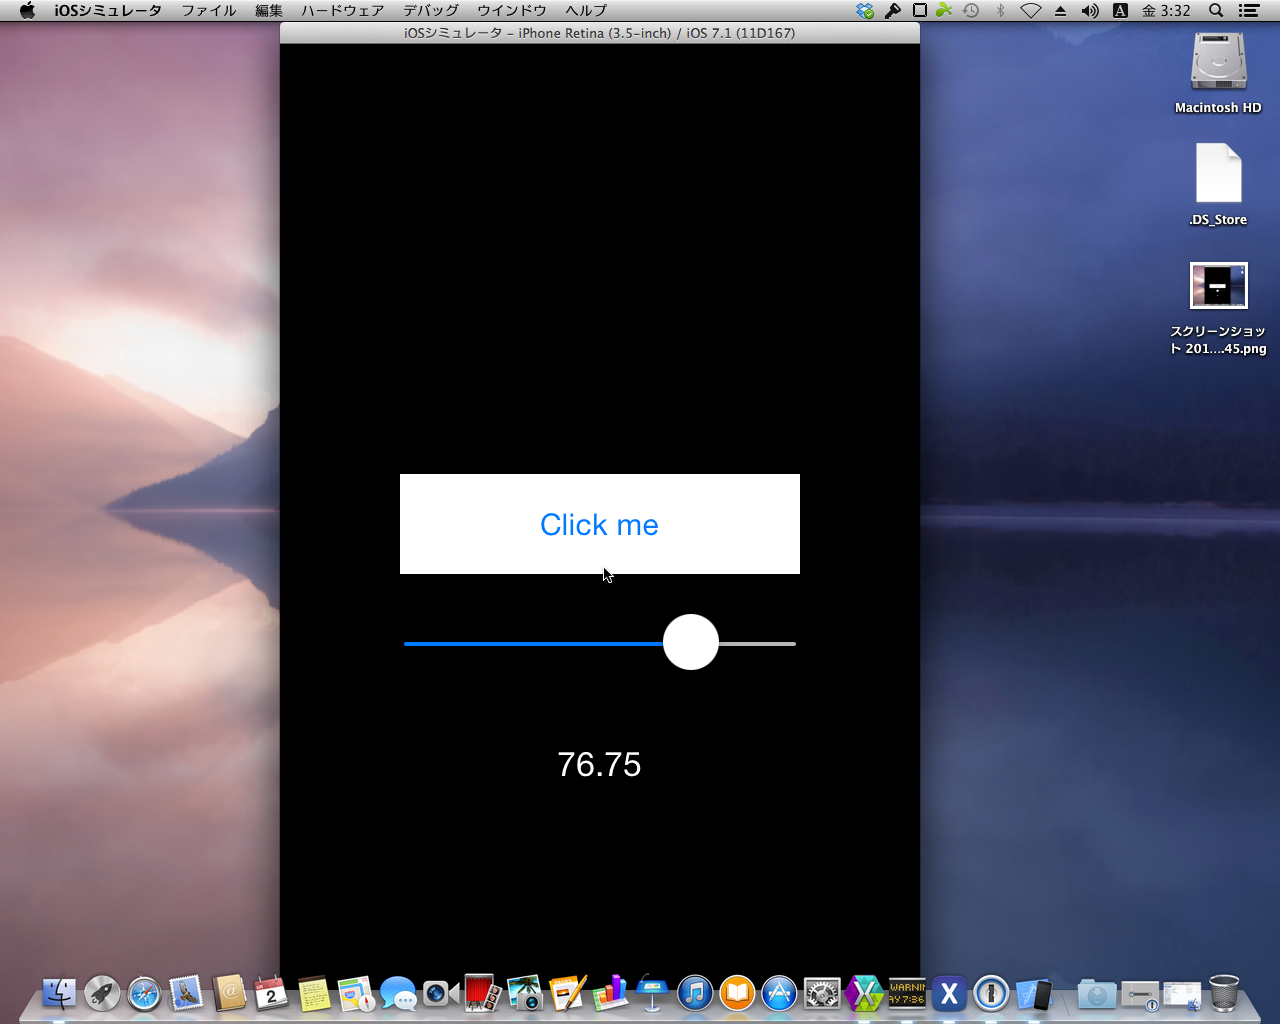
2. UIAlertView

次はMonoTouch.UIKit.UITextViewを追加します。
これは .NET でいう System.Windows.Forms.MessageBoxです。
iOSの世界ではアラートビューですね。
サンプルを修正します。

1
2
3
4
5
6
7
8
9
10
11
12
13
14
15
16
17
18
19
20
21
22
23
24
25
26
27
28
29
30
31
32
33
34
35
36
37
38
39
40
41
42
43
44
45
46
47
48
49
50
51
52
53
54
55
56
57
58
59
60
61
62
63
64
65
66
67
68
69
70
71
72
73
74
75
76
77
78
79
public class MyViewController : UIViewController
{
UIButton button;
UISlider slider; // ADD
UILabel label; // ADD
int numClicks = 0;
float buttonWidth = 200;
float buttonHeight = 50;

public MyViewController()
{
}

public override void ViewDidLoad()
{
base.ViewDidLoad();

View.Frame = UIScreen.MainScreen.Bounds;
//View.BackgroundColor = UIColor.White;
View.BackgroundColor = UIColor.Black;
View.AutoresizingMask = UIViewAutoresizing.FlexibleWidth | UIViewAutoresizing.FlexibleHeight;

button = UIButton.FromType(UIButtonType.RoundedRect);

button.Frame = new RectangleF(
View.Frame.Width / 2 - buttonWidth / 2,
View.Frame.Height / 2 - buttonHeight / 2,
buttonWidth,
buttonHeight);

button.BackgroundColor = UIColor.White; // Add
button.SetTitle("Click me", UIControlState.Normal);

button.TouchUpInside += (object sender, EventArgs e) =>
{
//button.SetTitle(String.Format("clicked {0} times", numClicks++), UIControlState.Normal); // DEL
// ADD
using (var alert = new UIAlertView("Notify", string.Format("Slider Value is {0}", slider.Value), null, "OK", null))
{
alert.Show();
}
};

button.AutoresizingMask = UIViewAutoresizing.FlexibleWidth | UIViewAutoresizing.FlexibleTopMargin |
UIViewAutoresizing.FlexibleBottomMargin;

View.AddSubview(button);

// ADD
slider = new UISlider();
slider.Frame = new RectangleF(
View.Frame.Width / 2 - buttonWidth / 2,
button.Frame.Bottom + 10,
buttonWidth,
buttonHeight);
slider.MaxValue = 100;
slider.MinValue = 0;
slider.Value = 50;
slider.ValueChanged += (sender, args) =>
{
label.Text = slider.Value.ToString();
};

View.AddSubview(slider);

label = new UILabel();
label.Frame = new RectangleF(
View.Frame.Width / 2 - buttonWidth / 2,
slider.Frame.Bottom + 10,
buttonWidth,
buttonHeight);
label.TextColor = UIColor.White;
label.TextAlignment = UITextAlignment.Center;
label.Text = slider.Value.ToString();

View.AddSubview(label);
}

}

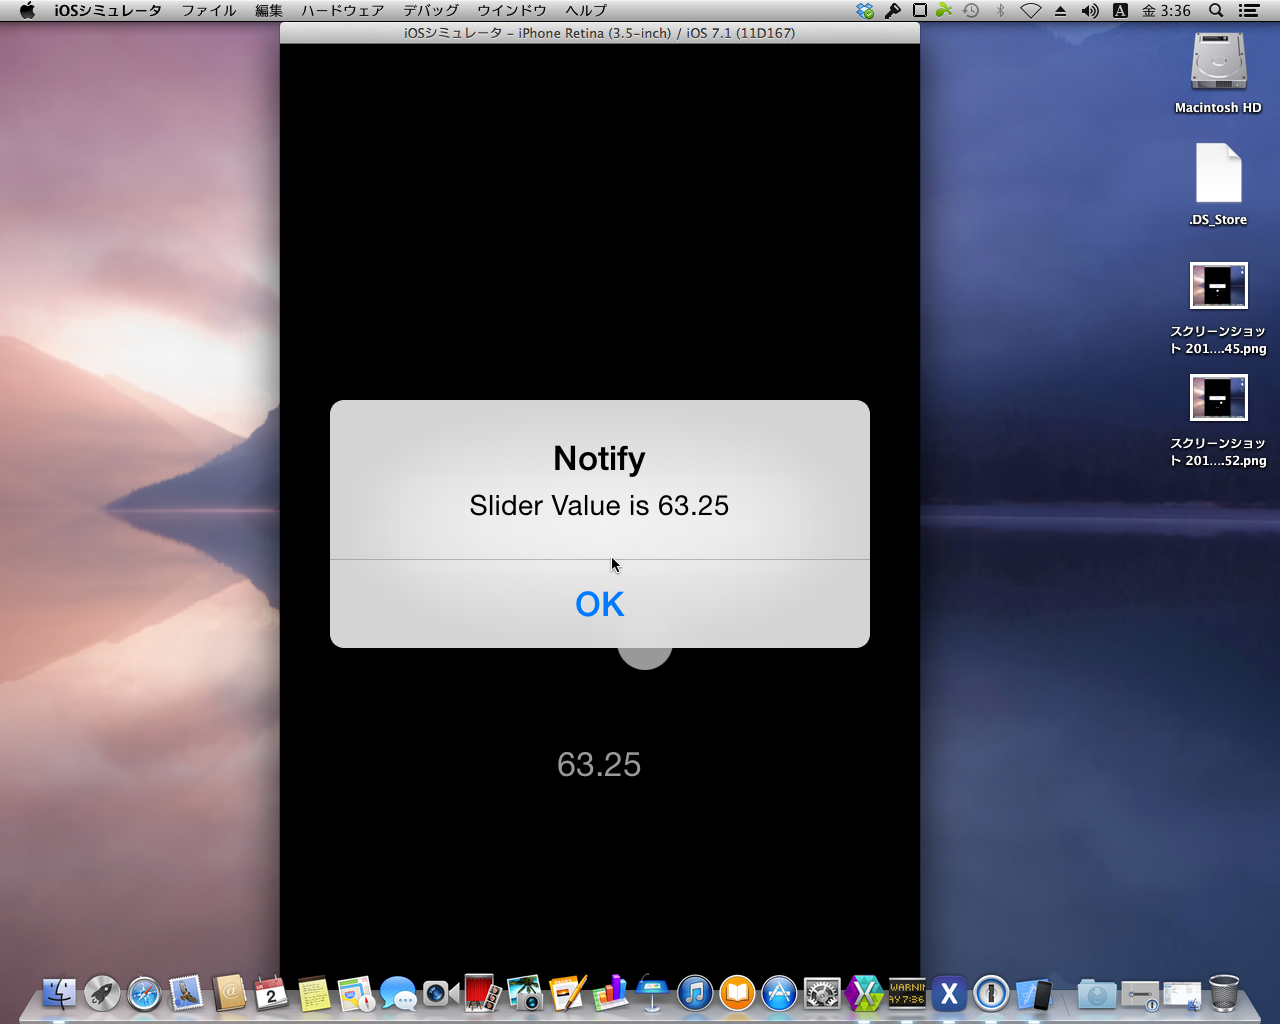
ビルドして、ボタンを押下すると、スライダーの値をユーザにアラートビューで通知します。

3. UISwitch

最後はMonoTouch.UIKit.UISwitchを追加します。
これは .NET でいう System.Windows.Forms.CheckBoxです。
iOSの世界ではスイッチコントロールですね。
**中間値(Indeterminate)**は対応しているんでしょうか? サンプルを修正します。

1
2
3
4
5
6
7
8
9
10
11
12
13
14
15
16
17
18
19
20
21
22
23
24
25
26
27
28
29
30
31
32
33
34
35
36
37
38
39
40
41
42
43
44
45
46
47
48
49
50
51
52
53
54
55
56
57
58
59
60
61
62
63
64
65
66
67
68
69
70
71
72
73
74
75
76
77
78
79
80
81
82
83
84
85
86
87
88
89
90
91
92
93
94
95
public class MyViewController : UIViewController
{
UIButton button;
UISlider slider; // ADD
UILabel label; // ADD
UISwitch switch1; // ADD
int numClicks = 0;
float buttonWidth = 200;
float buttonHeight = 50;

public MyViewController()
{
}

public override void ViewDidLoad()
{
base.ViewDidLoad();

View.Frame = UIScreen.MainScreen.Bounds;
//View.BackgroundColor = UIColor.White;
View.BackgroundColor = UIColor.Black;
View.AutoresizingMask = UIViewAutoresizing.FlexibleWidth | UIViewAutoresizing.FlexibleHeight;

button = UIButton.FromType(UIButtonType.RoundedRect);

button.Frame = new RectangleF(
View.Frame.Width / 2 - buttonWidth / 2,
View.Frame.Height / 2 - buttonHeight / 2,
buttonWidth,
buttonHeight);

button.BackgroundColor = UIColor.White; // Add
button.SetTitle("Click me", UIControlState.Normal);

button.TouchUpInside += (object sender, EventArgs e) =>
{
//button.SetTitle(String.Format("clicked {0} times", numClicks++), UIControlState.Normal); // DEL
// ADD
using (var alert = new UIAlertView("Notify", string.Format("Slider Value is {0}", slider.Value), null, "OK", null))
{
alert.Show();
}
};

button.AutoresizingMask = UIViewAutoresizing.FlexibleWidth | UIViewAutoresizing.FlexibleTopMargin |
UIViewAutoresizing.FlexibleBottomMargin;

View.AddSubview(button);

// ADD
slider = new UISlider();
slider.Frame = new RectangleF(
View.Frame.Width / 2 - buttonWidth / 2,
button.Frame.Bottom + 10,
buttonWidth,
buttonHeight);
slider.MaxValue = 100;
slider.MinValue = 0;
slider.Value = 50;
slider.ValueChanged += (sender, args) =>
{
label.Text = slider.Value.ToString();
};

View.AddSubview(slider);

label = new UILabel();
label.Frame = new RectangleF(
View.Frame.Width / 2 - buttonWidth / 2,
slider.Frame.Bottom + 10,
buttonWidth,
buttonHeight);
label.TextColor = UIColor.White;
label.TextAlignment = UITextAlignment.Center;
label.Text = slider.Value.ToString();

View.AddSubview(label);

switch1 = new UISwitch();
switch1.Frame = new RectangleF(
View.Frame.Width / 2 - buttonWidth / 2,
label.Frame.Bottom + 10,
buttonWidth,
buttonHeight);
switch1.SetState(false, true);
switch1.TintColor = UIColor.Blue;
switch1.ValueChanged += (sender, args) =>
{
label.TextColor = switch1.On ? UIColor.Red : UIColor.White;
};

View.AddSubview(switch1);
}

}

ビルドするとスイッチコントロールが追加されています。

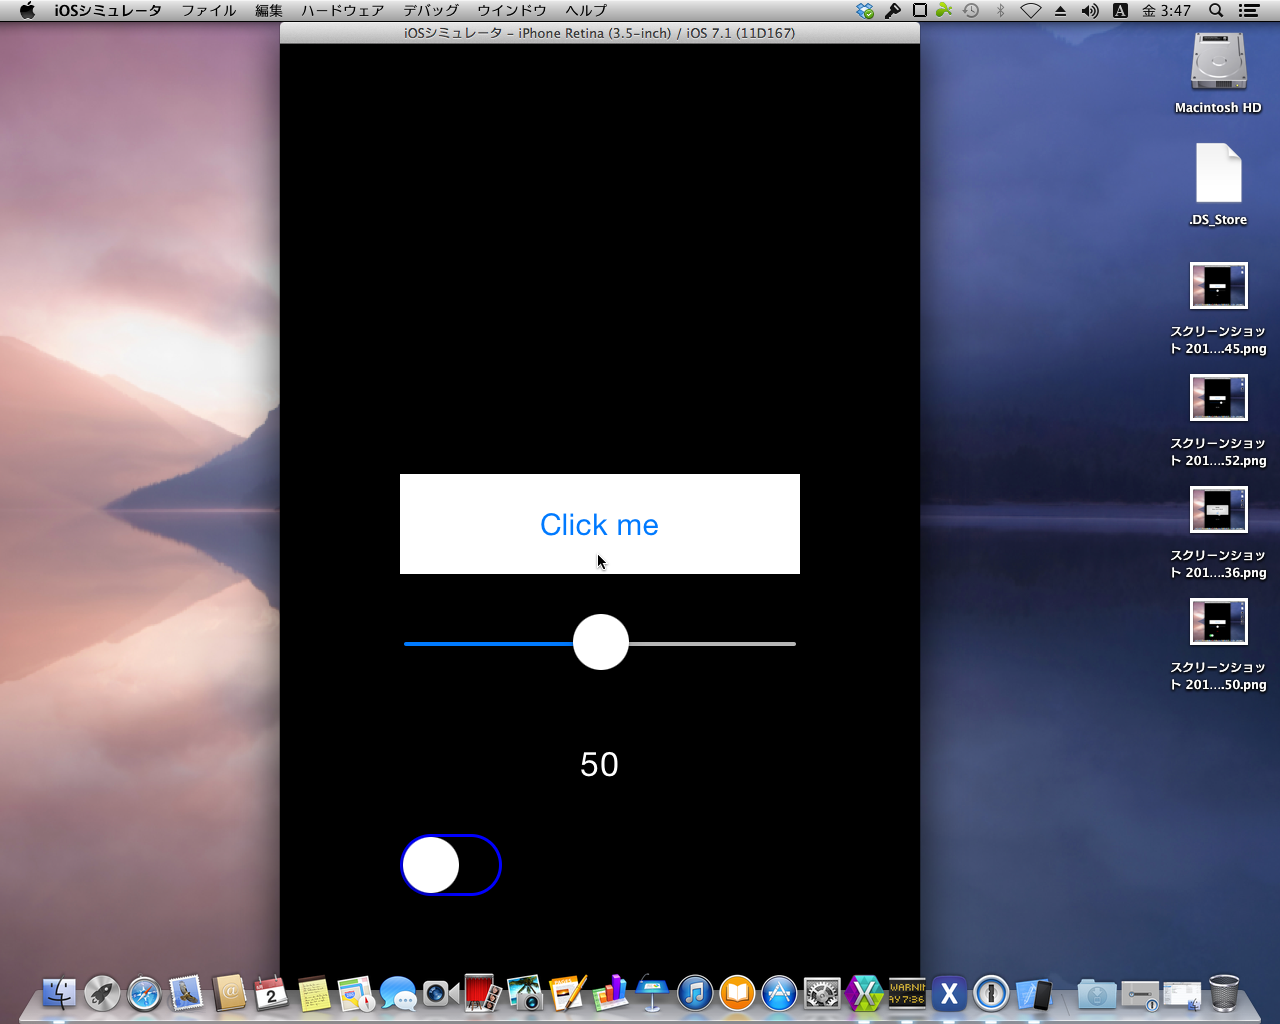
スイッチを動かすと、ラベルの色が赤に変化します。

Conclusion

今回は、

  • System.Windows.Forms.Labelに対応するMonoTouch.UIKit.UILabel
  • System.Windows.Forms.TrackBarに対応するMonoTouch.UIKit.UISlider
  • System.Windows.Forms.MessageBoxに対応するMonoTouch.UIKit.UIAlertView
  • System.Windows.Forms.CheckBoxに対応するMonoTouch.UIKit.UISwitch

を使用しました。
あくまで、対応するというのは私の偏見ですが、どういうものに似ているか、という認識は取っつきにくさを解消するための方便だと思います。

まだ、紹介していないコントロールは次回に回します。